“Thoughtful Deconstruction refers to the conscious removal of elements of a bound item to show physical aspects that were previously hidden. In this presentation I will make the case that book conservators should consider employing this approach to carefully selected bound objects so that they can then be used to foster teaching and scholarship.” —Todd Pattison, 2026 (1)
Todd, first of all I want to let you know how much I have personally benefited from your book history scholarship, and respect your conservation and bookbinding work. On top of all that you are a good egg! You have generously contributed to many organizations, and are justifiably prominent in the field.
Given your contributions, influence, and stature — and at the risk of sounding like a scolding schoolmarm — this “thoughtful deconstruction” approach is all the more disturbing. I totally support the practice of conservators interpreting objects. I totally support preserving evidence of use and existing damage in books. I totally love seeing what the insides of books look like. I totally do not support conservators taking apart books to accomplish these goals! Obviously one can do whatever they want with their own books. But advocating this as an approach for book conservators, as you did in your March 17 presentation New England GBW Chapter and in your article 2025 Suave Mechanicals 9 article, makes me uncomfortable. (2)
Have you considered how thoughtful deconstruction relates to our American Institute of Conservation Code of Ethics? Several areas are problematic: it compromises physical integrity (Article II), it prioritizes scholarship/education over preservation (Article III), and it adversely affects function (Article VI). As a Professional Member in AIC, it is also my responsibility to promote the Code of Ethics (Article XIII).
Why physically deconstruct now? Why not wait for not-to-distant future imaging or other technologies to answer your questions? What information can be important enough to compromise the integrity of an (even damaged) book? Just because a book is slightly damaged or has little current market value, does it give us free rein to intervene further?
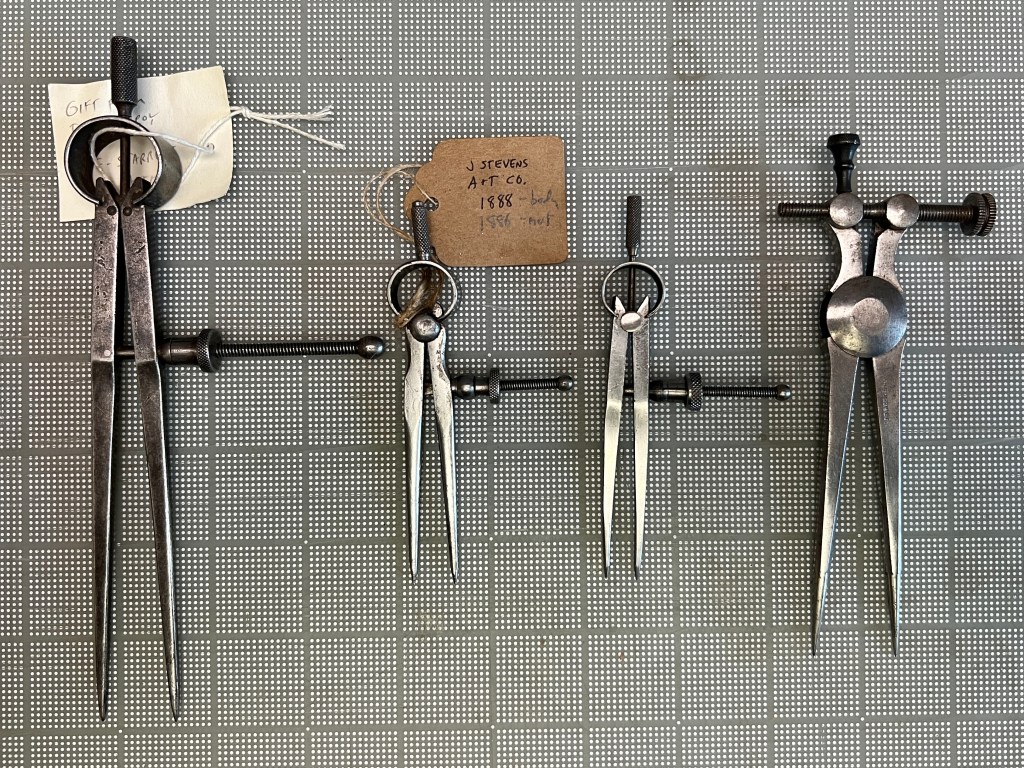
Altering a book during the course of a treatment —which will prolong the object’s life — is different than deconstructing a structure for scholarship or education. I would also like to point out that removing a pastedown entirely is extremely unusual in current rare book conservation practice, given how invasive it is. I don’t think I’ve done it since the 1990s. Typically only the spine edge is lifted an inch or so to insert a hinge.
I have a confession. In my article in SM9, I also show an image of a lifted pastedown and removed leather on one of my own books in 2014. In retrospect, it really wasn’t necessary, but it was interesting to see that the slips were not deplyed or frayed, and that the inner face of the board squares were colored with vermillion. I think I just wanted a cool looking photo. You might say I wasn’t thoughtful enough. And at least the way I did it, it is not close to 100% reversible; which may be the case for many other people’s deconstructions as well. At this point I would rather have it intact, but like many projects I doubt I will have time to get back to replacing it.
How do we ensure careful selection of items to be deconstructed? Towards the end of your article, you mention “taking apart a volume that is destined to be destroyed and turning it into one that can teach, illustrate, or illuminate … seems a worthy thing to consider ….” I don’t think most of us would disagree; however, determining which books are essentially valueless becomes a slippery slope. Take your case study in SM9 of The Token and Atlantic Souvenir, 1834. Even if the title page and a couple of plates are missing, and you got the book for free, I consider this 192 year old book to be valuable cultural property: it is a rare embossed binding, signed by the binder, signed by the engraver, there is only one for sale on ABE for $8,500 (most of the value is from a John Quincy Adams signature), just 24 are listed in WorldCat, and it is important enough to be included in Wolf’s From Gothic Windows to Peacocks 1825 – 1855, 170.
I bet books that could be deconstructed without disagreement – say a 20th c. publishers’ binding with thousands of virtually identical extant examples – will reveal little interesting information. Books that do contain interesting innards maybe shouldn’t have been deconstructed in the first place.
Todd, please, listen to me, I’m on my knees, I’m praying that you have the strength to conquer this demon of dissectomania. You can stop turning more books into #pattisoncondition, just lay down your bookbinder’s knife, and overturn your board soaking tray!
NOTES
1. Todd Pattison, from BOOK_ARTS-L Listserv, March 3, 2026 “**REGISTRATION OPEN** THOUGHTFUL DECONSTRUCTION: A Webinar with Todd Pattison”.
2. Todd Pattison “Thoughtful Deconstruction” in Suave Mechanicals Vol. 9, (Ann Arbor: The Legacy Press, 2025): 554-580.