It is a sinking feeling when you take a look at the cutting edge of your knife, and see a chip in it. But it happens. Sometimes completely regrinding the bevel is the best solution, sometimes not. Below are some options to consider, depending on the nature, size and location of the chip, how the blade is used, and what your sharpening set-up is.
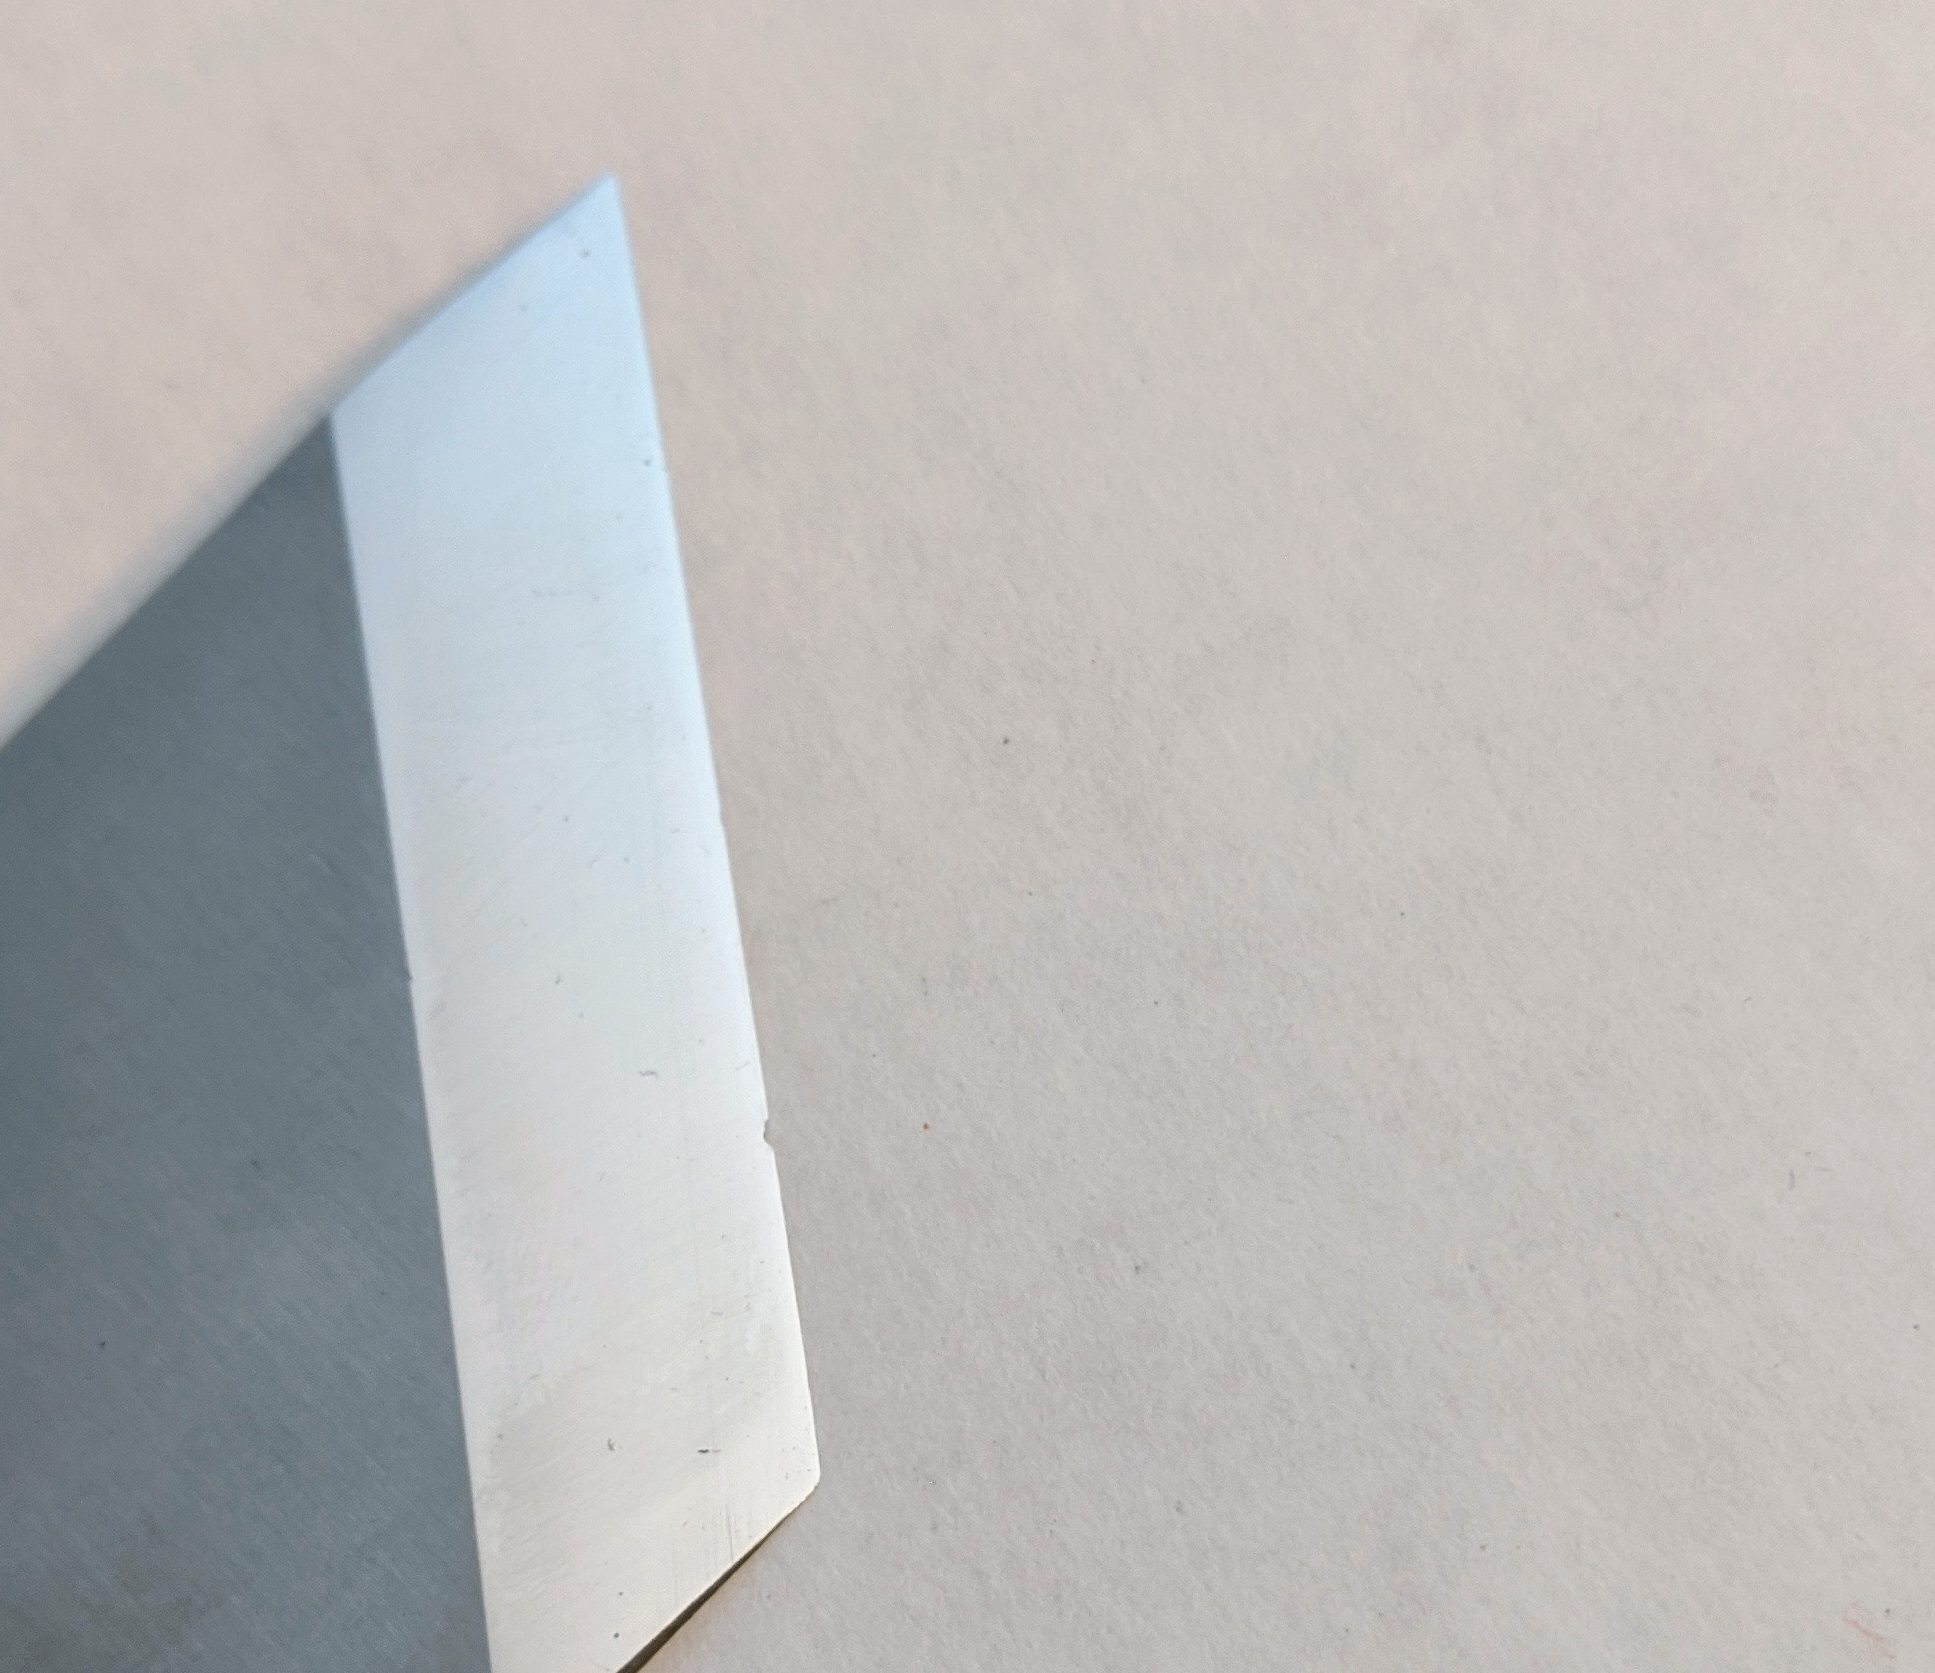
A small chip like this will work itself out after a few resharpenings.
1) Live with it. This is often a good solution for small chips. It will make a weird little ridge in the leather (or other material), and you will have to go back over it with a different part of the knife, like removing the ridge between multiple passes of a double edge razor blade paring machine. As you resharpen the blade it will get smaller each time.
Hand forged Japanese gardening tool with the chip reground to function.
2) For large chips, alter the cutting angle around the chip so the blade can still function. The example above shows a huge chip, and fixing it by regrinding the bevel would have removed most of the knife. The previous owner cleverly fixed it by putting an edge on the large chip. This blade still works quite well for hacking small branches. In fact, I kind of like having the notched higher bevel area. Of course, this depends on what type and size of blade you have and how you use it.
The bevel edge of a chisel in very poor shape from abuse. A good candidate to regrind.
3) Regrind to the original bevel using the coarsest diamond stone you can find, at least a 220 US grit. Even though I have belt grinders, for a narrow chisel like this one, it is easier to control working by hand on a diamond stone. It really doesn’t take that long. And you can skip your HIIT tomorrow.
The bevel angle of this chisel was ground too shallow for how it was used, and the entire cutting edge rolled off on the left side. A good candidate to regrind.
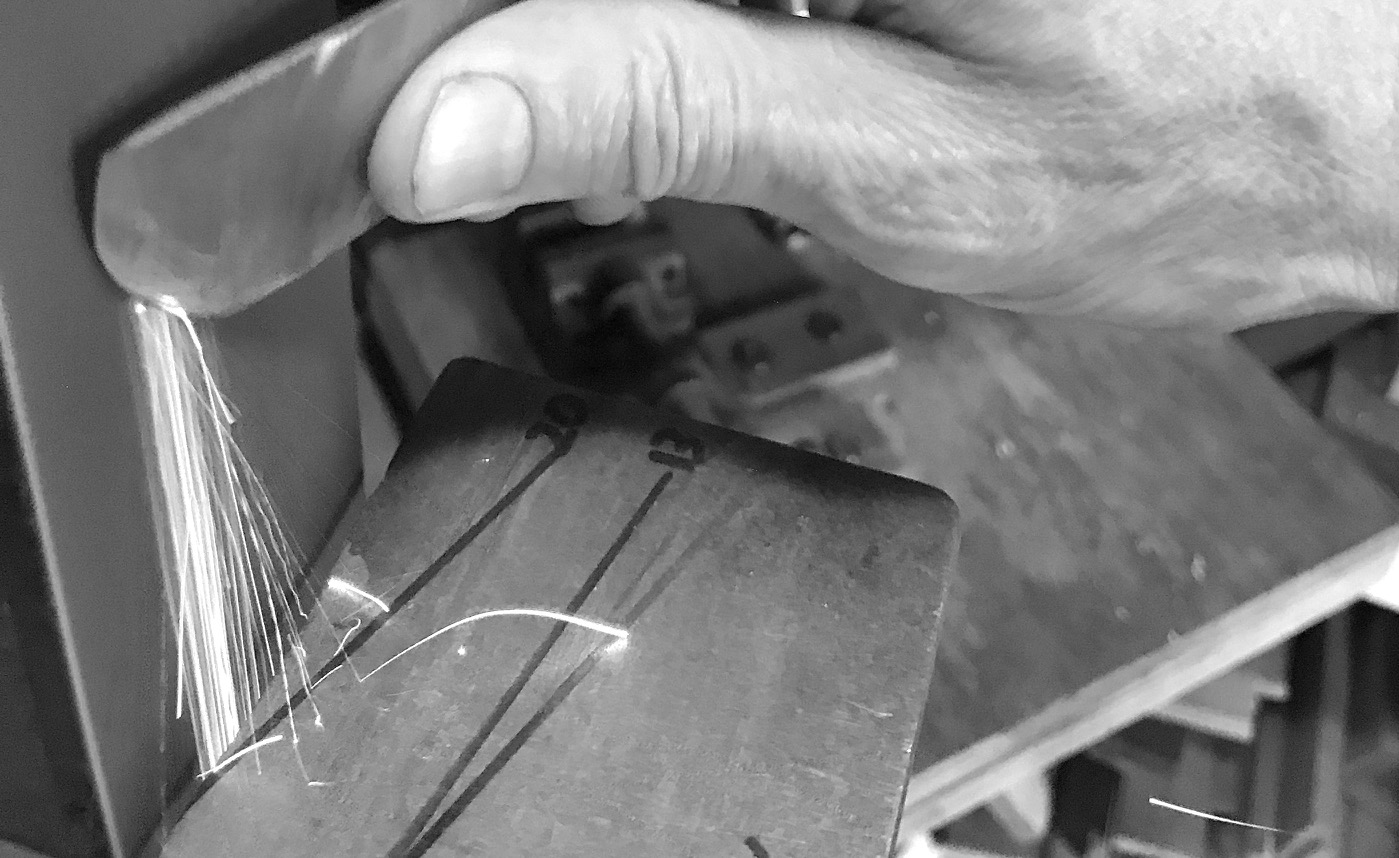
4) Regrind to the original using a belt sander, belt grinder, Tormek, or a stone grinder. If the blade is wide or thick, and the damage severe, a complete regrind might be the best option. Obviously, it is quicker to have a machine do the work, rather than your arms. I highly recommend the Kalamazoo 1 x 42 belt sander if you are in the market for a new one. I’ve had one for over 20 years, and sometimes during workshops it has run almost continuously for a couple of days.
The width of this chisel was reduced (on the top) to get rid of a chip at the top corner.
5) To fix a chipped corner, if the width of the blade is not of that much importance to you, it is often easier to reduce the it rather than regrind the bevel, like on the chisel above. This can ruin a rare or important tool, though. Often the entire width does not need to be reground, as the image above shows, but it can be rounded towards the tip. This can be done by hand on a diamond stone or on a machine grinder. Sometimes only a small amount of the blade on the bevel needs to be ground, sometimes the entire length. In this case, it was an inexpensive Buck chisel that I use for crude chopping, and has little value otherwise.
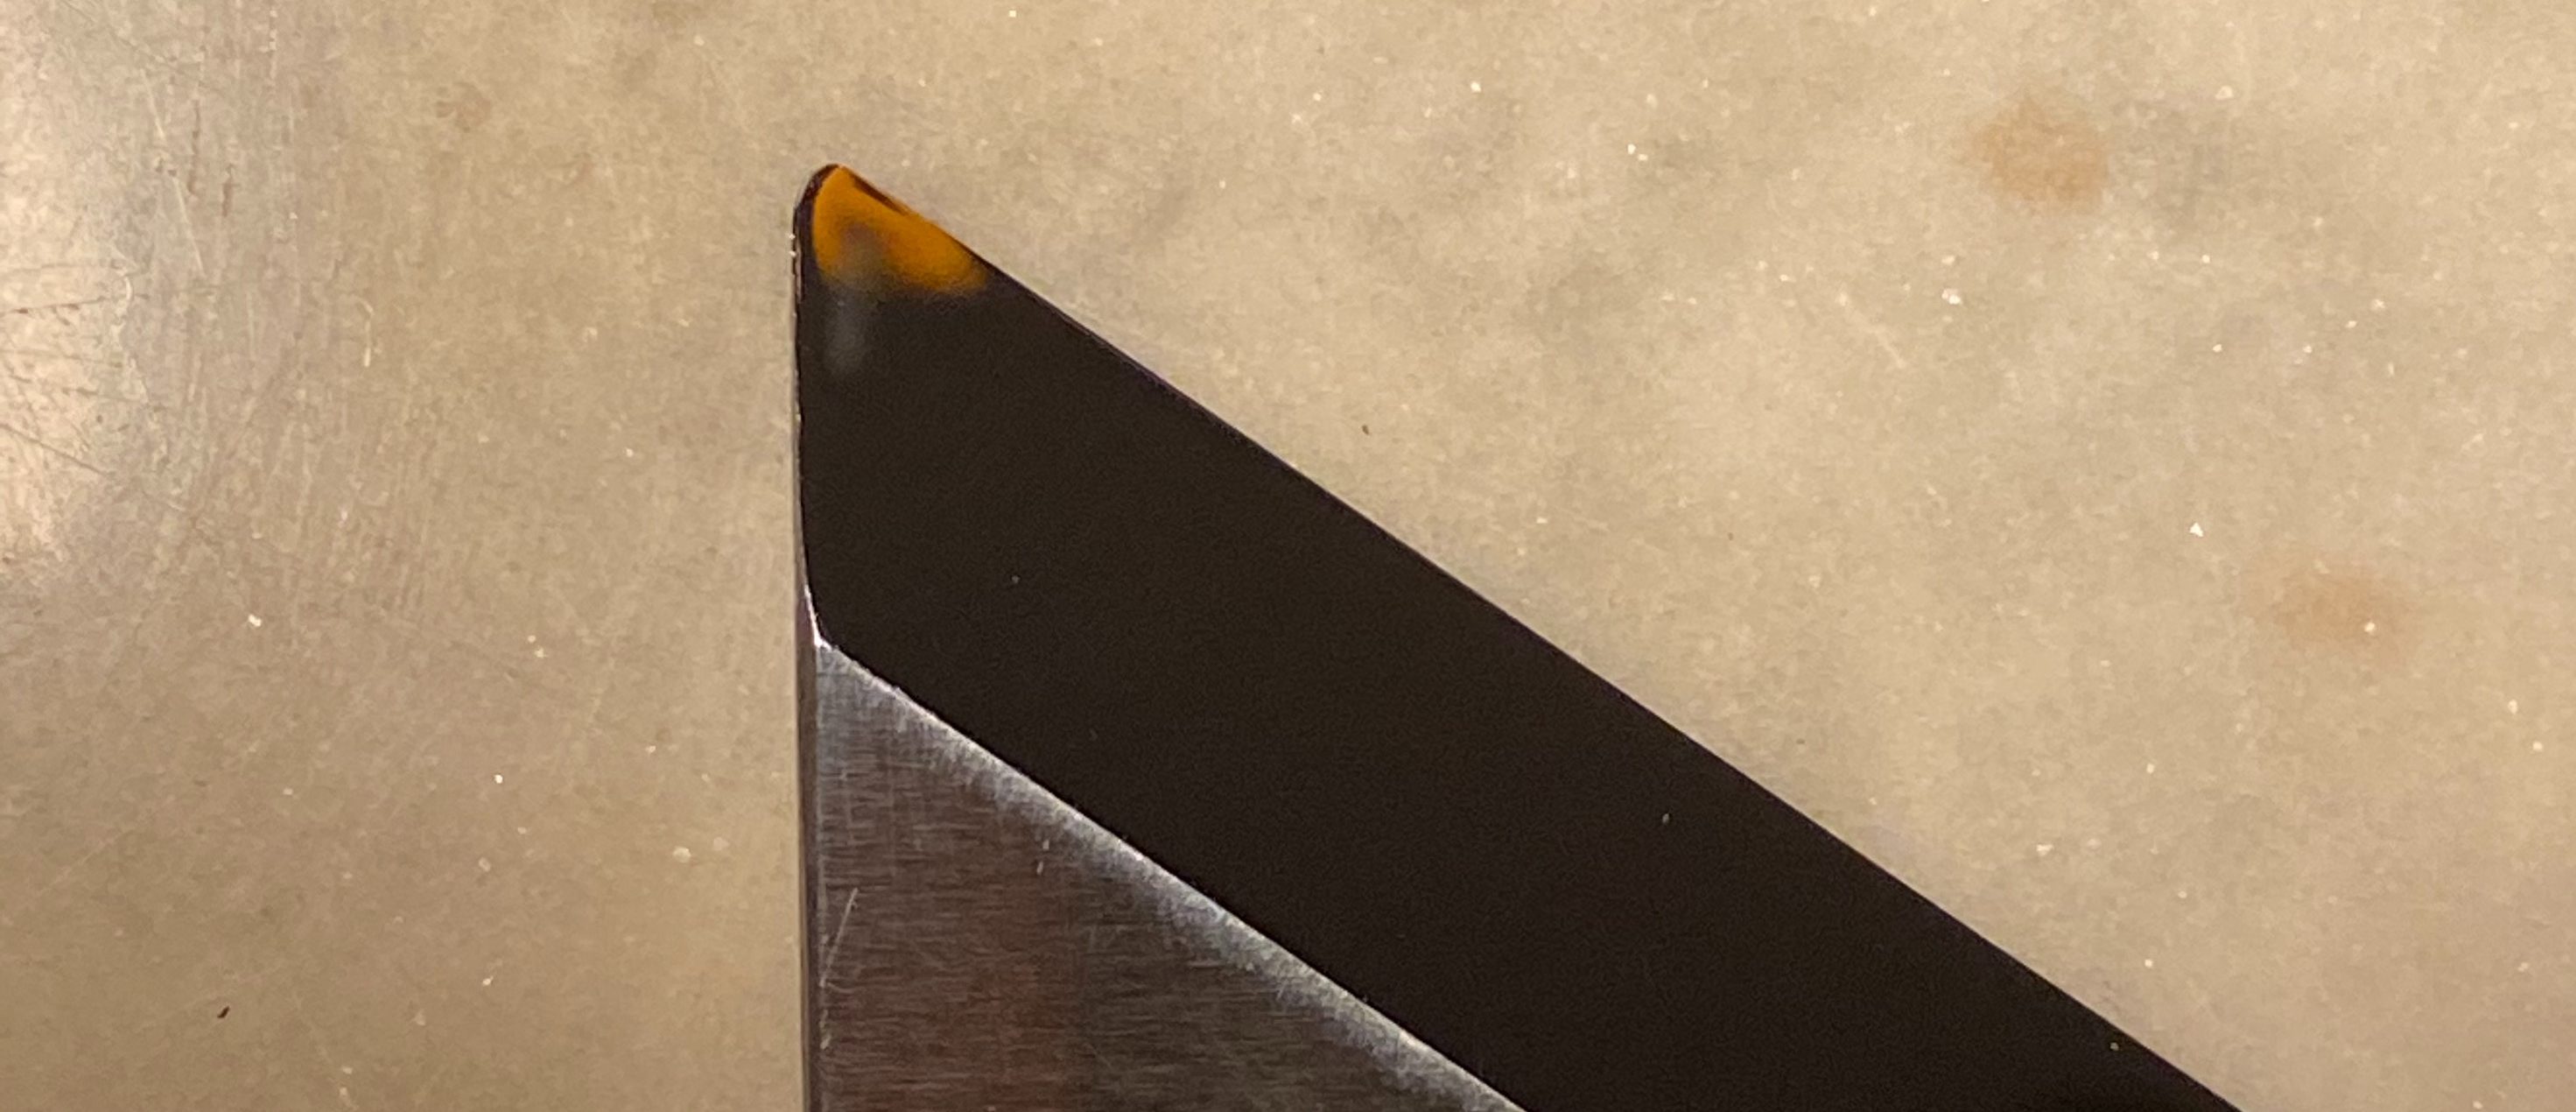
A tip chip.
Solution: a new rounded tip.
6) If the tip or corner is chipped (which is very common) it can be easier to round it. Some prefer to have rounded tips on leather paring knives and other knives anyway. Think carefully if you want to keep the original bevel angle, or raise it slightly as in the above example. The above chip could also be fixed by reducing the width of the knife on the left side of the image.
Regrinding a knife back to the original bevel angle.
As most people interested in the physical construction of books know, the history of bookbinding is largely unwritten and the majority of the evidence resides in the material books themselves. This is why book conservators try to preserve as much of the physical information as possible for future study, interpretation, aesthetic enjoyment, artifactual value, etc…. Although bindings are usually not dated, the bookblock usually is, which allows us to get a general idea when a book was made.
Bookbinding tools, however, are rarely dated and are often missing provenance. Identifying national styles is often based on connoisseurship and morphological characteristics rather than hard evidence. In many ways bookbinding tools are more difficult to research than a binding. Often the most information we have about a particular tool is the reminiscence of a current owner, something along the lines of, “well, I bought it from Binder Bob in the 90s, and that’s about all I know”. Tools often are given or sold between binders, and sometimes used for 100s of years.
It is important for conservators to document and understand the broader context of how books were made (the foundation of bibliography), including tools and equipment historically used to make the books, since book conservation is still closer to its craft origins than other specialities.
Background
In order to understand a press more fully that I used while teaching at the Preservation Lab of the University of Cincinnati, I asked Tim Moore to make a replica or model of it. For a while it was on the back burner. As is sometimes the case, the making of a replica evolved into both of us thinking through ways to slightly tweak and improve it. Making a replica involves more time spent carefully looking than even making a drawing, giving time to think through many aspects of an object. A more selfish reason was that I simply really, really wanted a press like this for my own use!
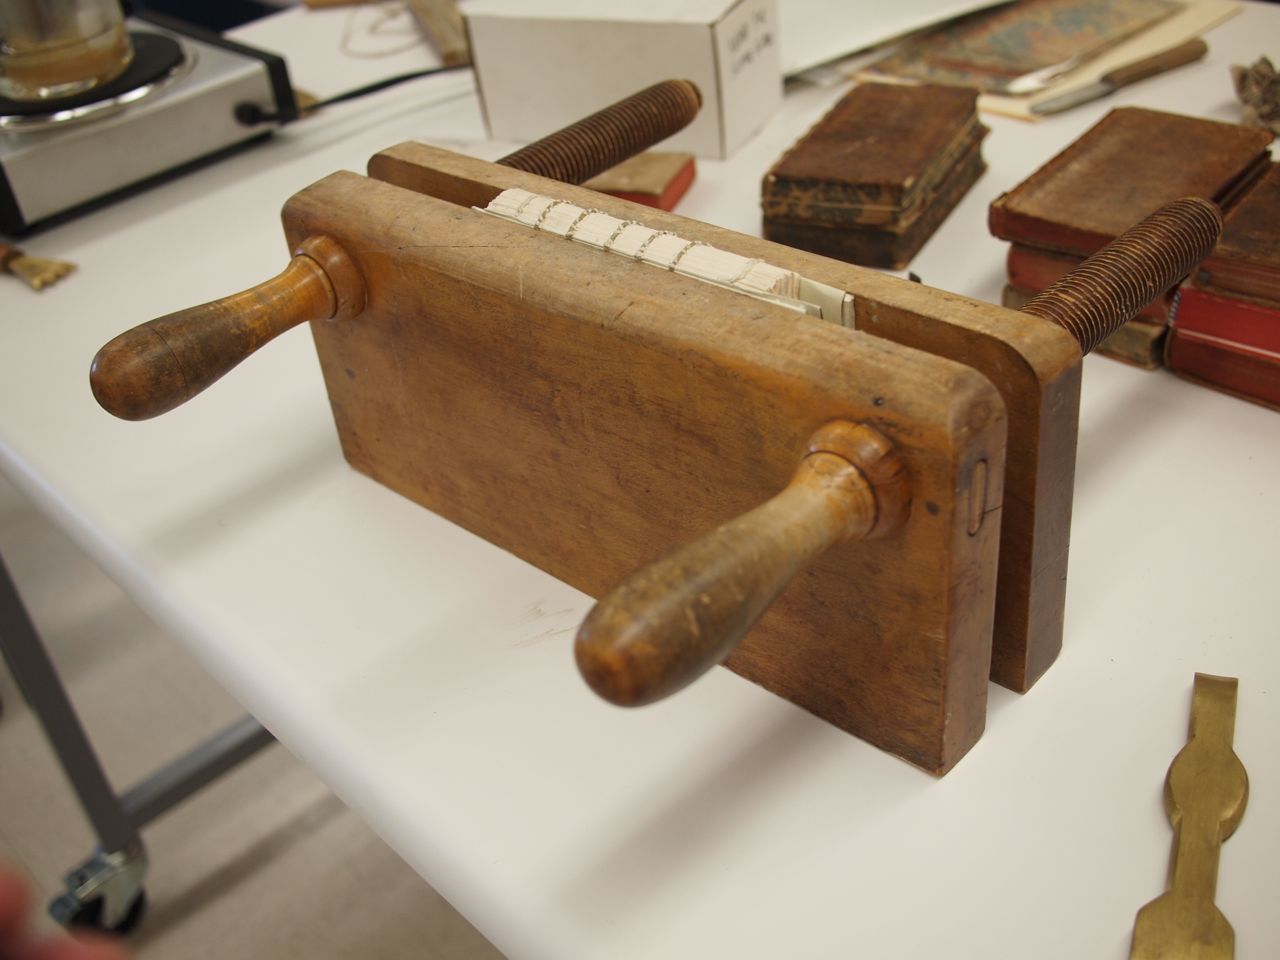
The Cincinnati Finishing Press from the Preservation Lab of the University of Cincinnati.
At first I wondered if this press was altered in some way, especially the shape of the top edge. On further reflection, I don’t think so, considering the symmetrical distance between the handles and the top and sides. Yet it is impossible to be certain.
We decided to call it The Cincinnati Press. Some may rightly attribute this name to a lack of imagination on our part. At least it is better than yet another eponymous Peachey this or that.
All aspects of this press are carefully chosen, and contribute to its function: the handle placement, overall size, cheeks, handle design, and our addition of tying-up pins.
The Cincinnati Press. I haven’t driven the key home so it is slightly proud on the end, and haven’t put in the retaining pin in.
Handle placement
The extreme placement of the handles close to the top edge is likely the defining feature of this press. It allows for a lot of pressure right at the spine edge, and is perfect for smaller books, since the press is less likely to yawn. It also fits older books which are sometimes wedge shaped.
Size
The replica press is 7.5 inches tall. This height positions the book spine close to your eyes, which is convenient when removing or applying linings if you have poor sight like I do. I prefer presses like this that support the book completely, rather than narrower profile ones. There are 12 inches between the screws, which according to my own thoroughly unscientific non-survey fits about 92.5% of books I usually work on.
Cheeks
The 1.25 inch thick cheeks (aka “five quarters” in the lumber world) resist deflection when tightening, The sharp radius at the top edge also adds strength just where you need it to clamp a book or textblock firmly. The press is heavy enough not to slide around on the workbench. It can be used to gently back a rounded textblock, if you use a froitture rather than a hammer.
The Cincinnati Press, end view. Note the radius at the top which adds considerable pressing strength when combined with the thick and ridged cheeks.
Handle Design
The handles are smaller than usual for a press like this. Tim explained his thinking about the handles in an email, “I had never considered reducing the shoulder on the wooden screw this much but I like it. As you pointed out it adds strength (less leverage on the margin of the screw shoulder). I suppose there may be greater wear on the outside press surface (more psi of pressure) but it’s probably not significant with hard wood.” The original has a wider profile shoulder which is vulnerable to splitting. A thinner shoulder is also more comfortable to grasp.
The Cincinnati Press. Detail of the tying-up pins and Tim’s careful selection of wood..
Tying-up pins
One significant change from the original was the addition of tying up pins, which are very useful. Tim also rethought his usual style and angle. He writes, “I drilled the tying-up pin holes at 15 degrees. This was a shallow enough angle that I could get a good start with a brad point drill. I didn’t think the ‘Vee’ channels that I’ve been using would look so good on this press. I think this is probably the way to go in future, provided the 15 degree slant is sufficient. My thinking is trending simpler these days and the channels now seem superfluous.”
The few tests I have done seem to confirm that 15 degrees is more than enough to keep the tying-up cords in place, and the pins themselves do not get in the way when using the press for other purposes. They actually make tying and untying quicker, since the cords slip on and off more easily, rather than getting trapped in a steep angle.
Conclusion
As with all of Tim’s equipment, the Cincinnati Press is meticulously crafted and beautifully finished. The wood screws are the super smooth — you can almost spin them! — and I look forward to enjoying it for the rest of my career.
I think I will increase the diameter of the handles for my next one (!) to gain more torque when tightening. Tim considers this unnecessary, though, “I can’t decide whether increasing the diameter of the handle would actually increase the mechanical advantage. For instance most screwdrivers have rather small handles and there is some important relationship to hand size and grip that someone understands better than I. Many folks have smaller hands which might argue for smaller handles. Also, if you need the press really tight you can grab both ends of the screw with both hands for the final cinch.” For some reason when I am using any wood press, it seems more common that I grab the threaded portion to adjust it. Maybe we don’t need a handle, just a threaded rod?
It is by far the nicest finishing press I have.
*****
I keep thinking about some broader questions, applicable to all tools, that reconstructing this press brought up. Can a particular piece of bookbinding equipment inform us as to the working procedures of binders? Could it affect how a particular book functions and looks? What would be the evidence for this? How can we better document provenance in the historic tools and equipment we use and collect?
In you would like more information about purchasing a Cincinnati Press, contact Tim Moore directly at: scobeymoore <AT> frontiernet <DOT> net