
Knife sharpening can be an intimidating activity, and in many ways the plethora of information available — sometimes contradictory — makes it more difficult to know where to start. Sharpening is fundamental skill for many crafts, and knowing how to sharpen allows you to work more precisely, more cleanly, more safely, and more efficiently. Sharp knives can save you from ruining expensive materials or even complete projects. Sharp tools require less effort to use and can help protect your hands from repetitive stress injuries. Please note I also use the techniques below for spokeshave blades. Prehistoric humans knew how to sharpen, and so can you!
CONTENTS
I. STROPPING A KNIFE
II. TECHNIQUES OF STROPPING
III. MATERIAL FOR THE STROP
IV. COMPOUNDS FOR THE STROP
V. THE TWO BASIC PRINCIPLES OF SHARPENING
VI. THE TEN COMMANDMENTS OF SHARPENING
VII. TWELVE WAYS OF TESTING SHARPNESS
VIII. TIPS FOR GETTING THE MOST OUT OF YOUR 3M FINISHING FILM
IX. OPTIONS FOR FIXING A CHIP IN A KNIFE
X. RECOMMENDED SHARPENING BOOKS
XI. RECOMMENDED SHARPENING LINKS
XII. REVIEWS OF MY SHARPENING WORKSHOPS
I. STROPPING IN GENERAL
If your knife was sharp and is getting dull, stropping is a quick and easy way to keep it sharp enough to pare leather. Or anything else, for that matter. I tend to strop almost constantly, and if you get good at the technique, a good quality knife will stay sharp by stropping a long time.
Some people object to stropping, since it makes the cutting edge more obtuse over time, which is true. But I find the time saved doing it, verses going through a longer sharpening sequence each time it becomes dull, results in less time spent overall sharpening, and more time working. YMMV.
Stropping is a motion which pulls the cutting edge away from a substrate—leather, paper, wood, etc.—perpendicular to the cutting edge, with or without additional compounds. Stropping not only produces a very sharp final edge after sharpening, but it is an easy way to renew a slightly dull edge without having to go through the entire resharpening process. I tend to strop my knives whenever they feel a bit dull, or I have to apply excess pressure when using it, or when edge paring very thin leather.
II. TECHNIQUE OF STROPPING
The above video illustrates the technique I use in stropping, using the materials I will discuss below. I strop all the knives I sell using this method, and use it to keep my own knives in shape. There are two key aspects. First, always draw the blade away from the cutting edge to avoid digging into the leather, which is sometimes called a “trailing stroke”. Second, it is paramount to hold the knife at the exact bevel angle it was made, and keep this angle consistant throughout the stroke. If you raise the angle, even a few degrees, the cutting angle will rapidly become too obtuse and you will have to resharpen or possibly even regrind it. Similarly, the back needs to be kept flat.
I find a strop that is 12-15 inch long and 2 or 3 inches wide ideal. If it is shorter you will have to reposition the knife an inordinate number of times, which slows the process and may introduce more errors. If the strop is too long it is difficult to maintain a consistent angle on the blade throughout the length of the stroke. If the knife is slightly wider than your strop, just angle it a bit so it fits.
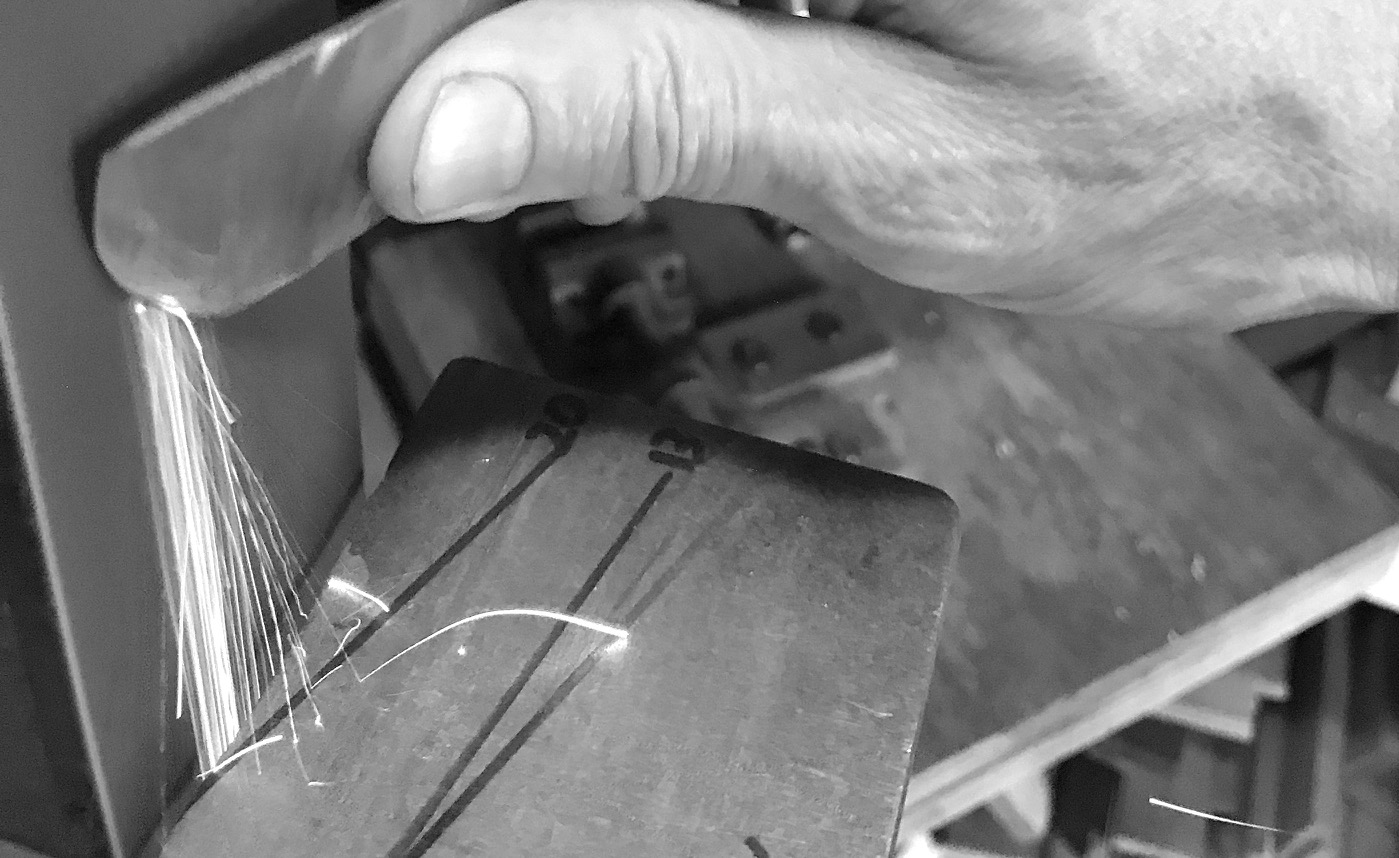
I count the number of strokes I do on each side to keep them even, a dozen times on each side is a reasonable starting place. If the knife is still not sharp, then strop it some more. If it still is not cutting well, it may need to be resharpened or reground. Although you are *just* rubbing a knife on a piece of leather, don’t be fooled that you are not doing anything: all the black marks are metal that have come off the blade.
For round blades, I do the same stroke on the back, but on the bevel gradually roll it throughout the length of the cutting edge, from side to side, during each stroke.
Eventually, however, even careful stropping will gradually create an obtuse cutting edge. It may look sharp and have a mirror shine, but it will need to be resharpened using your preferred sharpening system.
III. MATERIAL FOR THE STROP
I prefer a two stage stropping. First I strop on the flesh side of horsebutt, which is dressed with a .5 micron green honing compound. Horsebutt strops available here. You can then perform a secondary stropping on undressed flesh side of calf, or if you really want a refined edge try this .1 micron diamond compound impregnated Super Strop. Other substrates for strops are wood, MDF, binders board, cowhide, mat board, etc. Anything firm and flat can work, but keep in mind materials that compresses too much will round over the cutting edge more quickly. I prefer horsebutt over cowhide because the surface lasts longer, it is firmer, and it is a traditional material for high quality strops. There is nothing magical about it, it just holds up better and is firmer.
I generally use the strop on a hard flat surface but some people mount them to wood or other flat material. The speed that you strop at does not seem to make much of a difference, as long as a consistent angle is maintained. There are also a variety of leather belts and discs to attach to power machinery, but I find it is too easy to round an edge using these, and it is not really much of a time savings since stropping does not take much time by hand.
IV. COMPOUNDS FOR THE STROP
My preferred stropping compound is a .5 micron green chromium oxide buffing compound. I now sell a convenient 1 oz. bars of them, and my sharpening system also now comes with one. I like the edge this compound gives to the knife, and it does remove metal fairly quickly. Chromoglanz is another popular option among bookbinders, though I don’t know how precisely the abrasive is sized, and I personally don’t like the way it feels when you are stropping—it is very slippery. It seems to be better at polishing than establishing a cutting edge. There are other types of powders and honing compounds available as well, jewelry suppliers often have a wide variety. I’m currently hooked on a .1 micron diamond paste for a final finish.
Careful stropping can keep an edge tool cutting well for a long time. Eventually, though, you will have to resharpen the blade. Below are some principles. There are TONS of step-by-step guides on the web, if that is how you learn best.
V. THE TWO BASIC PRINCIPLES OF SHARPENING
There are two basic principles of freehand sharpening. First off, you will need to learn how to hold your knife at a consistent angle relative to the sharpening stone. Secondly, you will need a grit progression of abrasives.
If you knife has a single bevel , it is straightforward to lay the back flat on your stone and rub it back and forth until a burr develops. If the bevel of your knife is large enough, you can also feel when the knife matches it when you place it on the stone. I find it easier to keep the angle consistent by sharpening the knife from edge to edge, rather than tip to heel, like most sharpening jigs do. This is not a traditional method, but I find it easier to maintain a even angle.
To use the sharpening system I sell as an example of a grit progression, first start with an 80 micron. Sharpen the back and the bevel (or vice versa). Alternate sides. When are you done with a grit? When you feel the burr, or wire edge as it is sometimes called. Then move to the next finer grit and repeat the process. I use an 80 – 40 – 15 – 5 – 1 micron sharpening progression. There are many others, but I find this progression works quickly with 3M finishing film and the A2 and M2 type steel blades I prefer for paring leather. Different types of steel seem to work better with with different abrasives.
Below are ten key precepts to keep in mind when sharpening, in no particular order.
VI. THE TEN COMMANDMENTS OF SHARPENING
1. Thou shalt not round the bevel or the back.
2. Thou shalt not use jigs.
3. Thou shalt look at the scratch patterns in the metal.
4. Thou shalt use a bevel angle appropriate for the knife and task.
5. Thou shalt not covet thy neighbors knife.
6. Thou shalt sharpen side to side.
7. Thou shalt use a grit progression and entire surface of the stone.
8. Thou shalt not let thy sharpening system become glazed over.
9. Thou shalt not advance to the next grit until the burr develops.
10. Thou shalt not insult thy neighbor by insisting on the absolute superiority of any technique or system.
COMENTERY ON THE TEN COMMANDMENTS OF SHARPENING
[1] Rounding the bevel, or the back, is the most common mistake in sharpening. Though the knife may look ‘sharp’– ie. polished– it will not cut if the included angle becomes too obtuse. Even with careful stropping, eventually the knife will need to be reground and resharpened. A back bevel works fine as long as the included angle is within the desired angle. In practice, a small amount of rounding always occurs when sharpening and stropping: the goal should be to minimize it.
[2] Not relying on jigs will give you much more freedom, and speed, in sharpening a variety of tools. Many bookbinding knives do not fit it standard jigs, which are often designed for woodworking tools. The hand motions and muscle memory necessary to sharpen freehand is often very similar to the skills necessary to use the knife properly. Throw away your crutches and walk!
[3] Looking at the visual evidence of what you are doing when sharpening is paramount. Even slightly changing the angle of the knife when moving to a finer grit will show exactly what the new grit is doing. A 10 power magnifying lens is very revealing. Always sharpening in the same direction will disguise the effects of the new grit, often resulting in an unpleasant surprise when a final stropping reveals many deep scratches.
[4] Always use the lowest possible blade angle for the task at hand. For paring leather, this is around 13 degrees.
[5] Knives are very personal. You need your own, and get to know how to use and sharpen the particular angles it develops. Most people sharpen with small idiosyncratic deviations from a geometric ideal, and learn to work with these deviations in practice. A well made knife will last the rest of your career, don’t purchase or make an inferior one. In the bookbinding world, it is a major faux pas to borrow a colleague’s paring knife — don’t be a rube!
[6] It is much easier to maintain a consistent bevel sharpening side to side freehand (parallel to the cutting edge), rather than sharpening from the cutting edge to the start of the bevel. I have noticed this in student work as well as my own. This does necessitate a flat stone or sharpening surface, however. Of course, it is possible to sharpen in almost any direction, as long as you hand is comfortable and you are able to maintain a consistent angle.
[7] It is much faster and easier to have a series of small grit progressions, rather than one or two large ones. This also results in less wear per stone. Always buy the longest stone you can afford and use the entire surface of it — moving the blade 10 inches once is basically the same as moving the blade 2 inches, 5 times. Hogging the center will wear a stone unevenly.
[8] Always use a lubricant. A glazed system will generate heat and cut very slowly.
[9] Feeling, or looking for the burr lets you know that the two planes have exceeded the point where they meet. This assures you there are no flat (dull) areas on the cutting edge. With very fine grits it may not be possible to feel or see this.
[10] Almost any sharpening system can work, if you know what you are doing. I’ve seen people break every one of these commandments and still get a great edge.
So now you have sharpened your knife. Or have you? How do you know it is sharp?
VII. TWELVE WAYS OF TESTING SHARPNESS
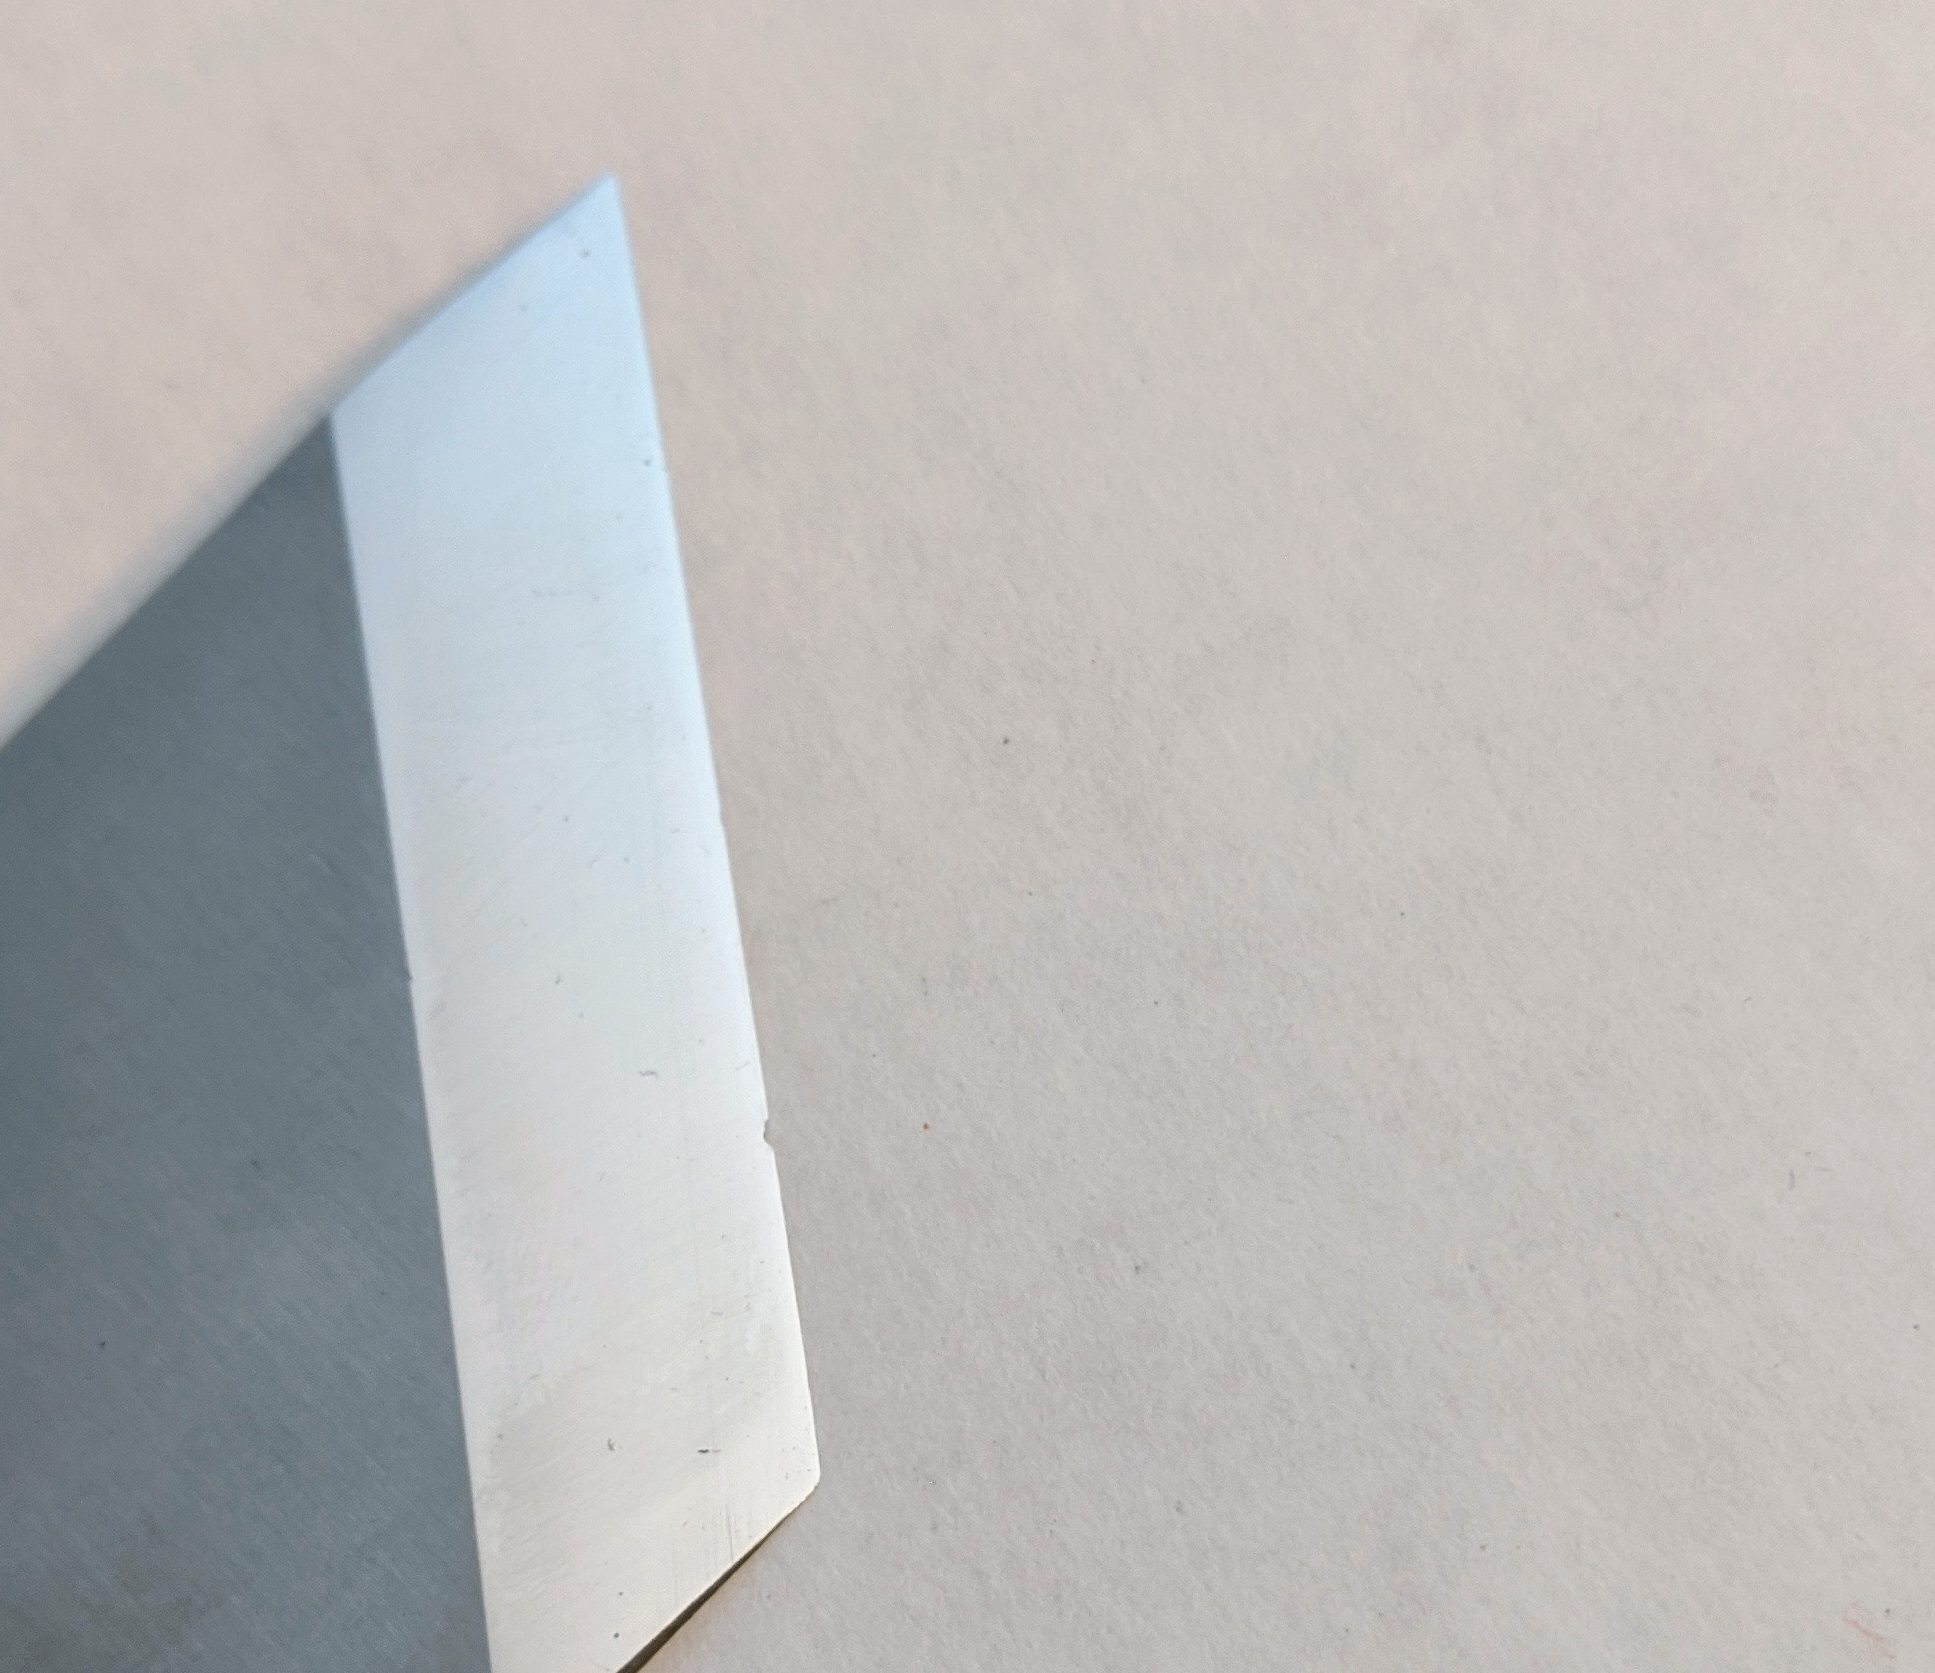
1. Visual inspection. When looking directly at the blade edge, with a light source behind you, are there any reflections? If so, these are dull, bent or chipped areas. The cutting edge should be an almost invisibly smooth black line.
2. Visual inspection, with magnification. When looking at the side of the blade, the smoother it is, the sharper it is, and presumably the longer the edge will last. Brent Beach, for example, measures wear in terms of pixels in a microscopic image at 200x. Leonard Lee’s Complete Guide to Sharpening has a number of electron microscope images of blade edges. Take heart, though, even a “sharp” edge will look like the Rocky Mountains if enlarged enough.
3. Shave a few hairs on your arm. If it is sharp enough to shave, it is probably pretty good. WARNING: THIS IS DANGEROUS
4. Rest the blade on a pen held at a 15 degree angle. If the blade, with just the weight of the knife catches the plastic, it is sharp. If it slides off, it is dull. The closer to parallel the pen and the knife are, the sharper the blade is.
5. Do this same test holding the blade and GENTLY and see if it catches on your fingernail. WARNING: THIS IS DANGEROUS.
6. Tsujigiri. This test likely seems a myth. Supposedly, at one time, samurais tested their swords by the number of torsos they could cut through in one stroke. The sharpest one was a #5. WARNING: THIS IS DANGEROUS, IMMORAL AND ILLEGAL.
7. For kitchen knives, see if they can penetrate a tomato or onion, with no downward pressure and no sawing. There are many variables in the toughness of the skin of a tomato though, I imagine.
8. Longer blades can be tested by slicing paper, even toilet paper. There are many youtube videos of this. Slicing cardboard, because of its consistent and abrasive nature, is often a field test of edge durability.
9. Feel the edge ACROSS THE BLADE with your finger, applying virtually no pressure. The smoother it feels the sharper it is. You should be able to feel any slight irregularities, indicating a dull area. WARNING: THIS IS DANGEROUS.
10. Test it on a difficult to cut substrate like styrofoam, cork, or balsa wood.
11. Send the knife to CATRA. They will qualitatively test for initial cutting performance, edge durability, and edge geometry. This will, however, dull your knife, so it is designed for production samples.
12. Possibly the best test is just to use it. Providing you are familiar with the material you are using it on, you can often tell instantly if it is sharp depending on how much force you have to apply.
VIII. TIPS FOR GETTING THE MOST OUT OF YOUR 3M FINISHING FILM
Keep it clean and use plenty of water! One of the most common mistakes in sharpening is to allow your stone or film to glaze over. This significantly increases sharpening time, since the knife is not abraded by the grit, but is burnished against embedded steel. Not using enough lubricant is a common reason for this, as is not regularly cleaning your substrate. Depending on the size of the grit, either a microfiber rag or a white vinyl eraser works best.

My sharpening setup, above, consists of a bright swing arm lamp mounted directly above a cork faced workbench (PSA cork shelf liner), a microfiber rag, a large squeeze bottle of water, and the Peachey Sharpening System. I find it more comfortable to sharpen at a lower height, around 34 inches, than my regular bookbinding workbench. Many hundreds of knives have been sharpened here!
The microfiber rag is perfect for cleaning larger grit 3M micro-finishing film, from 80 to around 15 microns. This rag was white when I purchased it, a testament to how well it picks up and retains small metal particles. I also use it to clean off the knife between grits in order to examine the scratch patterns.

For 5 micron and smaller grits, a white vinyl eraser works wonders. Pictured above is the neon lime green 1 micron film, which glazes quite easily. Using the eraser on coarser grits eats it up too quickly.
Of course, over time, the abrasive will wear to the point nothing much happens, and you will need to replace it. I can usually sharpen ten knives or so on one piece of 2 x 11 inch film.
By using plenty of water as a lubricant, and cleaning the film after each use, the effective working life of finishing film will be prolonged.
IX. OPTIONS FOR FIXING A CHIP IN A KNIFE
I bet everyone has chipped a blade at one point or another. I’ve done it dozens of times. It happens. Sometimes completely regrinding the bevel is the best solution, sometimes not. Below are some options to consider, depending on the nature, size and location of the chip, how the blade is used, and what your sharpening set-up is.
1) Live with it. This is often a good solution for small chips. It will make a weird little ridge in the leather (or other material), and you will have to go back over it with a different part of the knife, like removing the ridge between multiple passes of a double edge razor blade paring machine. As you resharpen the blade it will get smaller each time.

2) For large chips, alter the cutting angle around the chip so the blade can still function. The example above shows a huge chip, and fixing it by regrinding the bevel would have removed most of the knife. The previous owner cleverly fixed it by putting an edge on the large chip. This blade still works quite well for hacking small branches. In fact, I kind of like having the notched higher bevel area. Of course, this depends on what type and size of blade you have and how you use it.

3) Regrind to the original bevel using the coarsest diamond stone you can find, at least a 220 US grit. Even though I have belt grinders, for a narrow chisel like this one, it is easier to control working by hand on a diamond stone. It really doesn’t take that long. And you can skip your HIIT tomorrow.

4) Regrind to the original using a belt sander, belt grinder, Tormek, or a stone grinder. If the blade is wide or thick, and the damage severe, a complete regrind might be the best option. Obviously, it is quicker to have a machine do the work, rather than your arms. I highly recommend the Kalamazoo 1 x 42 belt sander if you are in the market for a new one. I’ve had one for over 20 years, and sometimes during workshops it has run almost continuously for a couple of days.

5) To fix a chipped corner, if the width of the blade is not of that much importance to you, it is often easier to reduce the it rather than regrind the bevel, like on the chisel above. This can ruin a rare or important tool, though. Often the entire width does not need to be reground, as the image above shows, but it can be rounded towards the tip. This can be done by hand on a diamond stone or on a machine grinder. Sometimes only a small amount of the blade on the bevel needs to be ground, sometimes the entire length. In this case, it was an inexpensive Buck chisel that I use for crude chopping, and has little value otherwise.


6) If the tip or corner is chipped (which is very common) it can be easier to round it. Some prefer to have rounded tips on leather paring knives and other knives anyway. Think carefully if you want to keep the original bevel angle, or raise it slightly as in the above example. The above chip could also be fixed by reducing the width of the knife on the left side of the image.
X. RECOMMENDED SHARPENING BOOKS
Hock, Ron. The Perfect Edge: The Ultimate Guide to Sharpening for Woodworkers. Cincinnati: Popular Woodworking Books, 2009.
Kingshott, Jim. Sharpening, The Complete Guide. Bath: The Guild of Master Craftsman Publications, 1994.
Lee, Leonard. The Complete Guide to Sharpening. Newtown, CT: The Taunton Press, 1995.
XI. RECOMMENDED SHARPENING LINKS
Ron Hock’s brief sharpening notes
Nicole Alvarado’s tips for sharpening your knife at home
Maurice Fraser’s sharpening notes
XII. REVIEWS OF MY SHARPENING WORKSHOPS
Henry Hebert’s sharpening with Jeff Peachey
Alegria Barclay’s Jeff Peachey on the fine art of sharpening
Oxford Conservation Consortium on making and sharpening knives, a rational approach
FINALLY, if after reading all of this and you are still confused, I offer private one hour zoom sharpening lessons to get you on the road to sharpness. In it, I will cover the principles of sharpening freehand, evaluate your knives, demonstrate the technique of freehand sharpening for the specific blade shapes you have, analyze your sharpening system, and help you refine your own technique. Learning to read scratch marks in the steel is a key component. This will establish a solid foundation for further development. Or you can send your knife back to me for a regrinding and hand sharpening.
But sharpening really is something you should learn how to do.
Note: Most of the information above has been previously published elsewhere on this blog.
Stay sharp! May your covers be dead smooth, your headcaps be crisp, your turn-ins even, your corners neat, and your leather never tear!

