One month ago, I was able to attend The Conservation of Leather Bookbindings at the University of Notre Dame. The American Institute for Conservation (AIC) and the Foundation for Advancement in Conservation (FAIC) supported this 5-day workshop that was taught by book conservator and tool-maker Jeff Peachey. Conservation is a field that requires a constant love of learning new skills and techniques, so when I saw this workshop was hosted not too far from Cincinnati, I jumped at the opportunity to increase my knowledge on the conservation of leather bookbindings.

Leather is an interesting topic in book conservation, as many of the historic books we work on have full or partial leather bindings. Leather, like paper, comes in a variety of qualities, and has inherent issues as it ages over time. And we, as conservators, have many ways to combat these issues to make the books in our collections accessible to all.
This workshop offered an in-depth look at the many ways leather can be conserved, while also discussing the pros and cons of the various types of treatment options. This level of understanding is crucial part for us. Think of it like taking a test – you can simply have the list of answers, or you can study and understand why the answers are in fact correct (any teacher will tell you they prefer the latter of these two options, and we do too!).

While the leather on the outside of a book is what most of us see when we look at our books and bookshelves, a large portion of the workshop focused on how those books are put together. If you’ve seen a leather book, you have likely seen a book that has its covers detached or missing. We talked about reattaching covers using techniques such as joint tackets, sewing extensions, slitting and slotting the boards, and tissue repairs. These are techniques that need to be considered before a leather reback, which was the final technique we learned, would take place.
One of the most beneficial aspects of the workshop was that we were able to practice these techniques on our own books. (I’ll take this time to note that these were not collection items! We like to practice on models or personal books first.) Being able to learn about the techniques and then practice them was a great way to use the hand skills needed for these types of treatments. Having our own personal examples that were treated also provides an application of how these techniques work and wear over time.

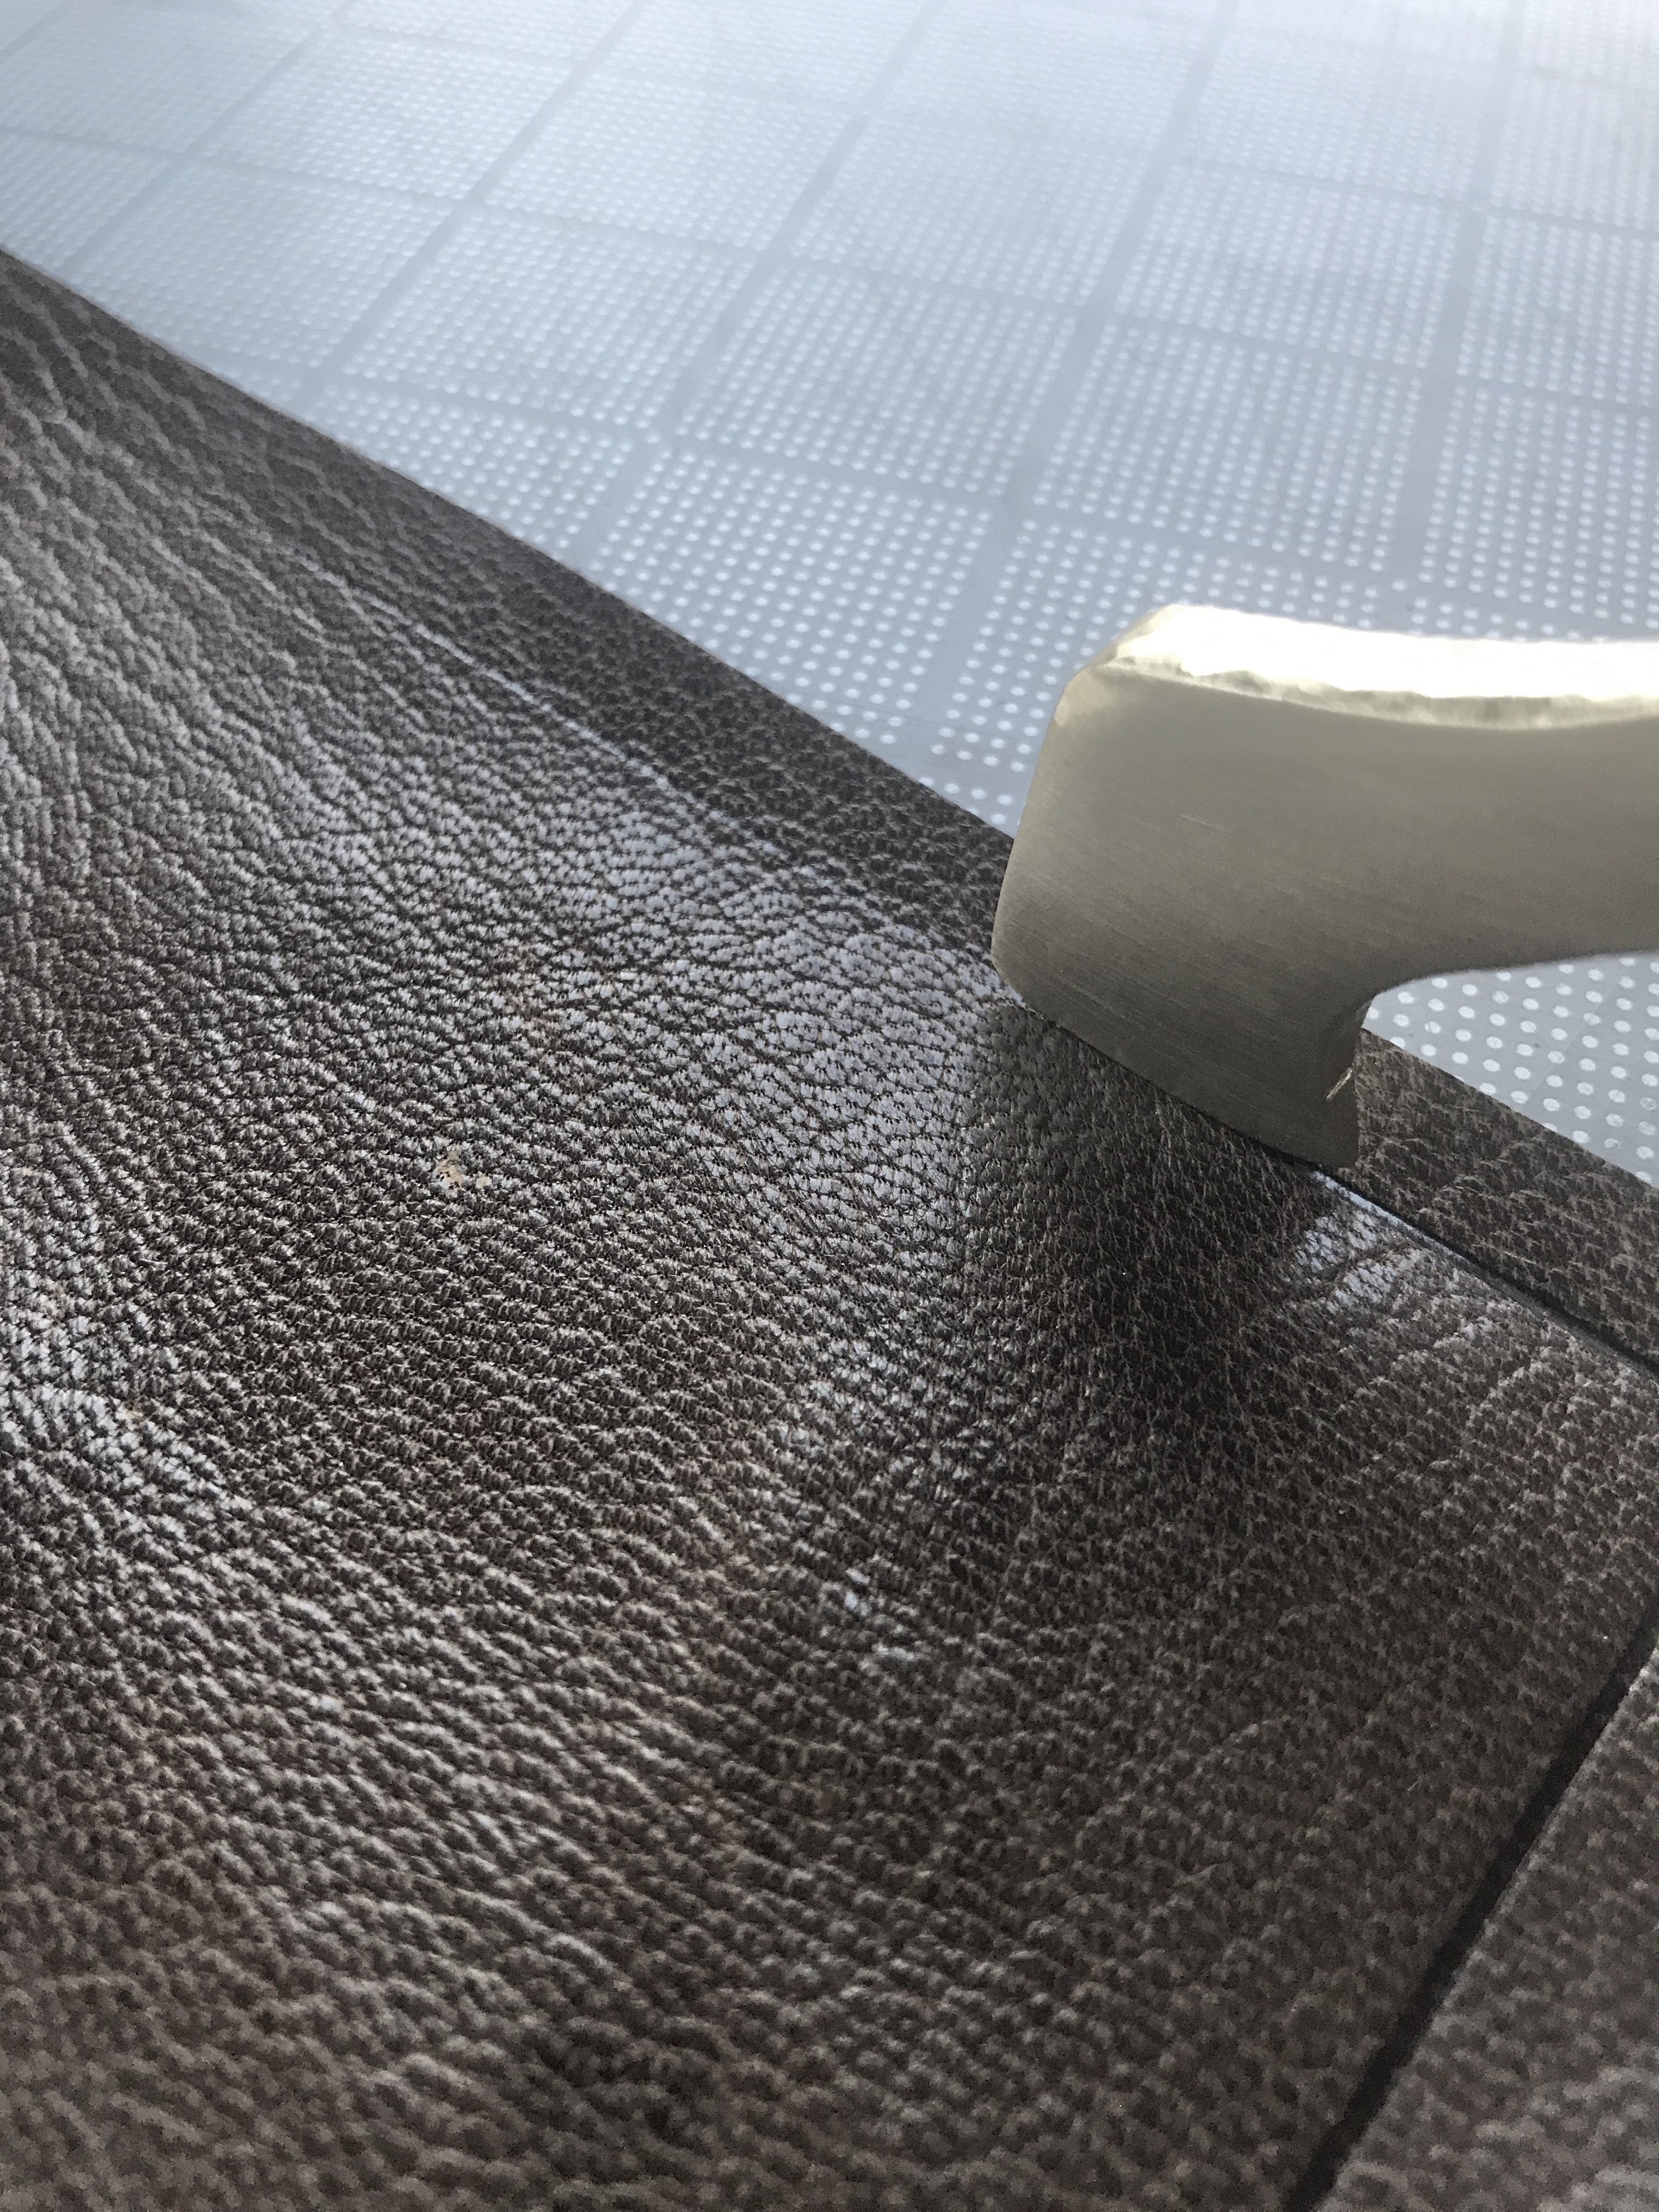
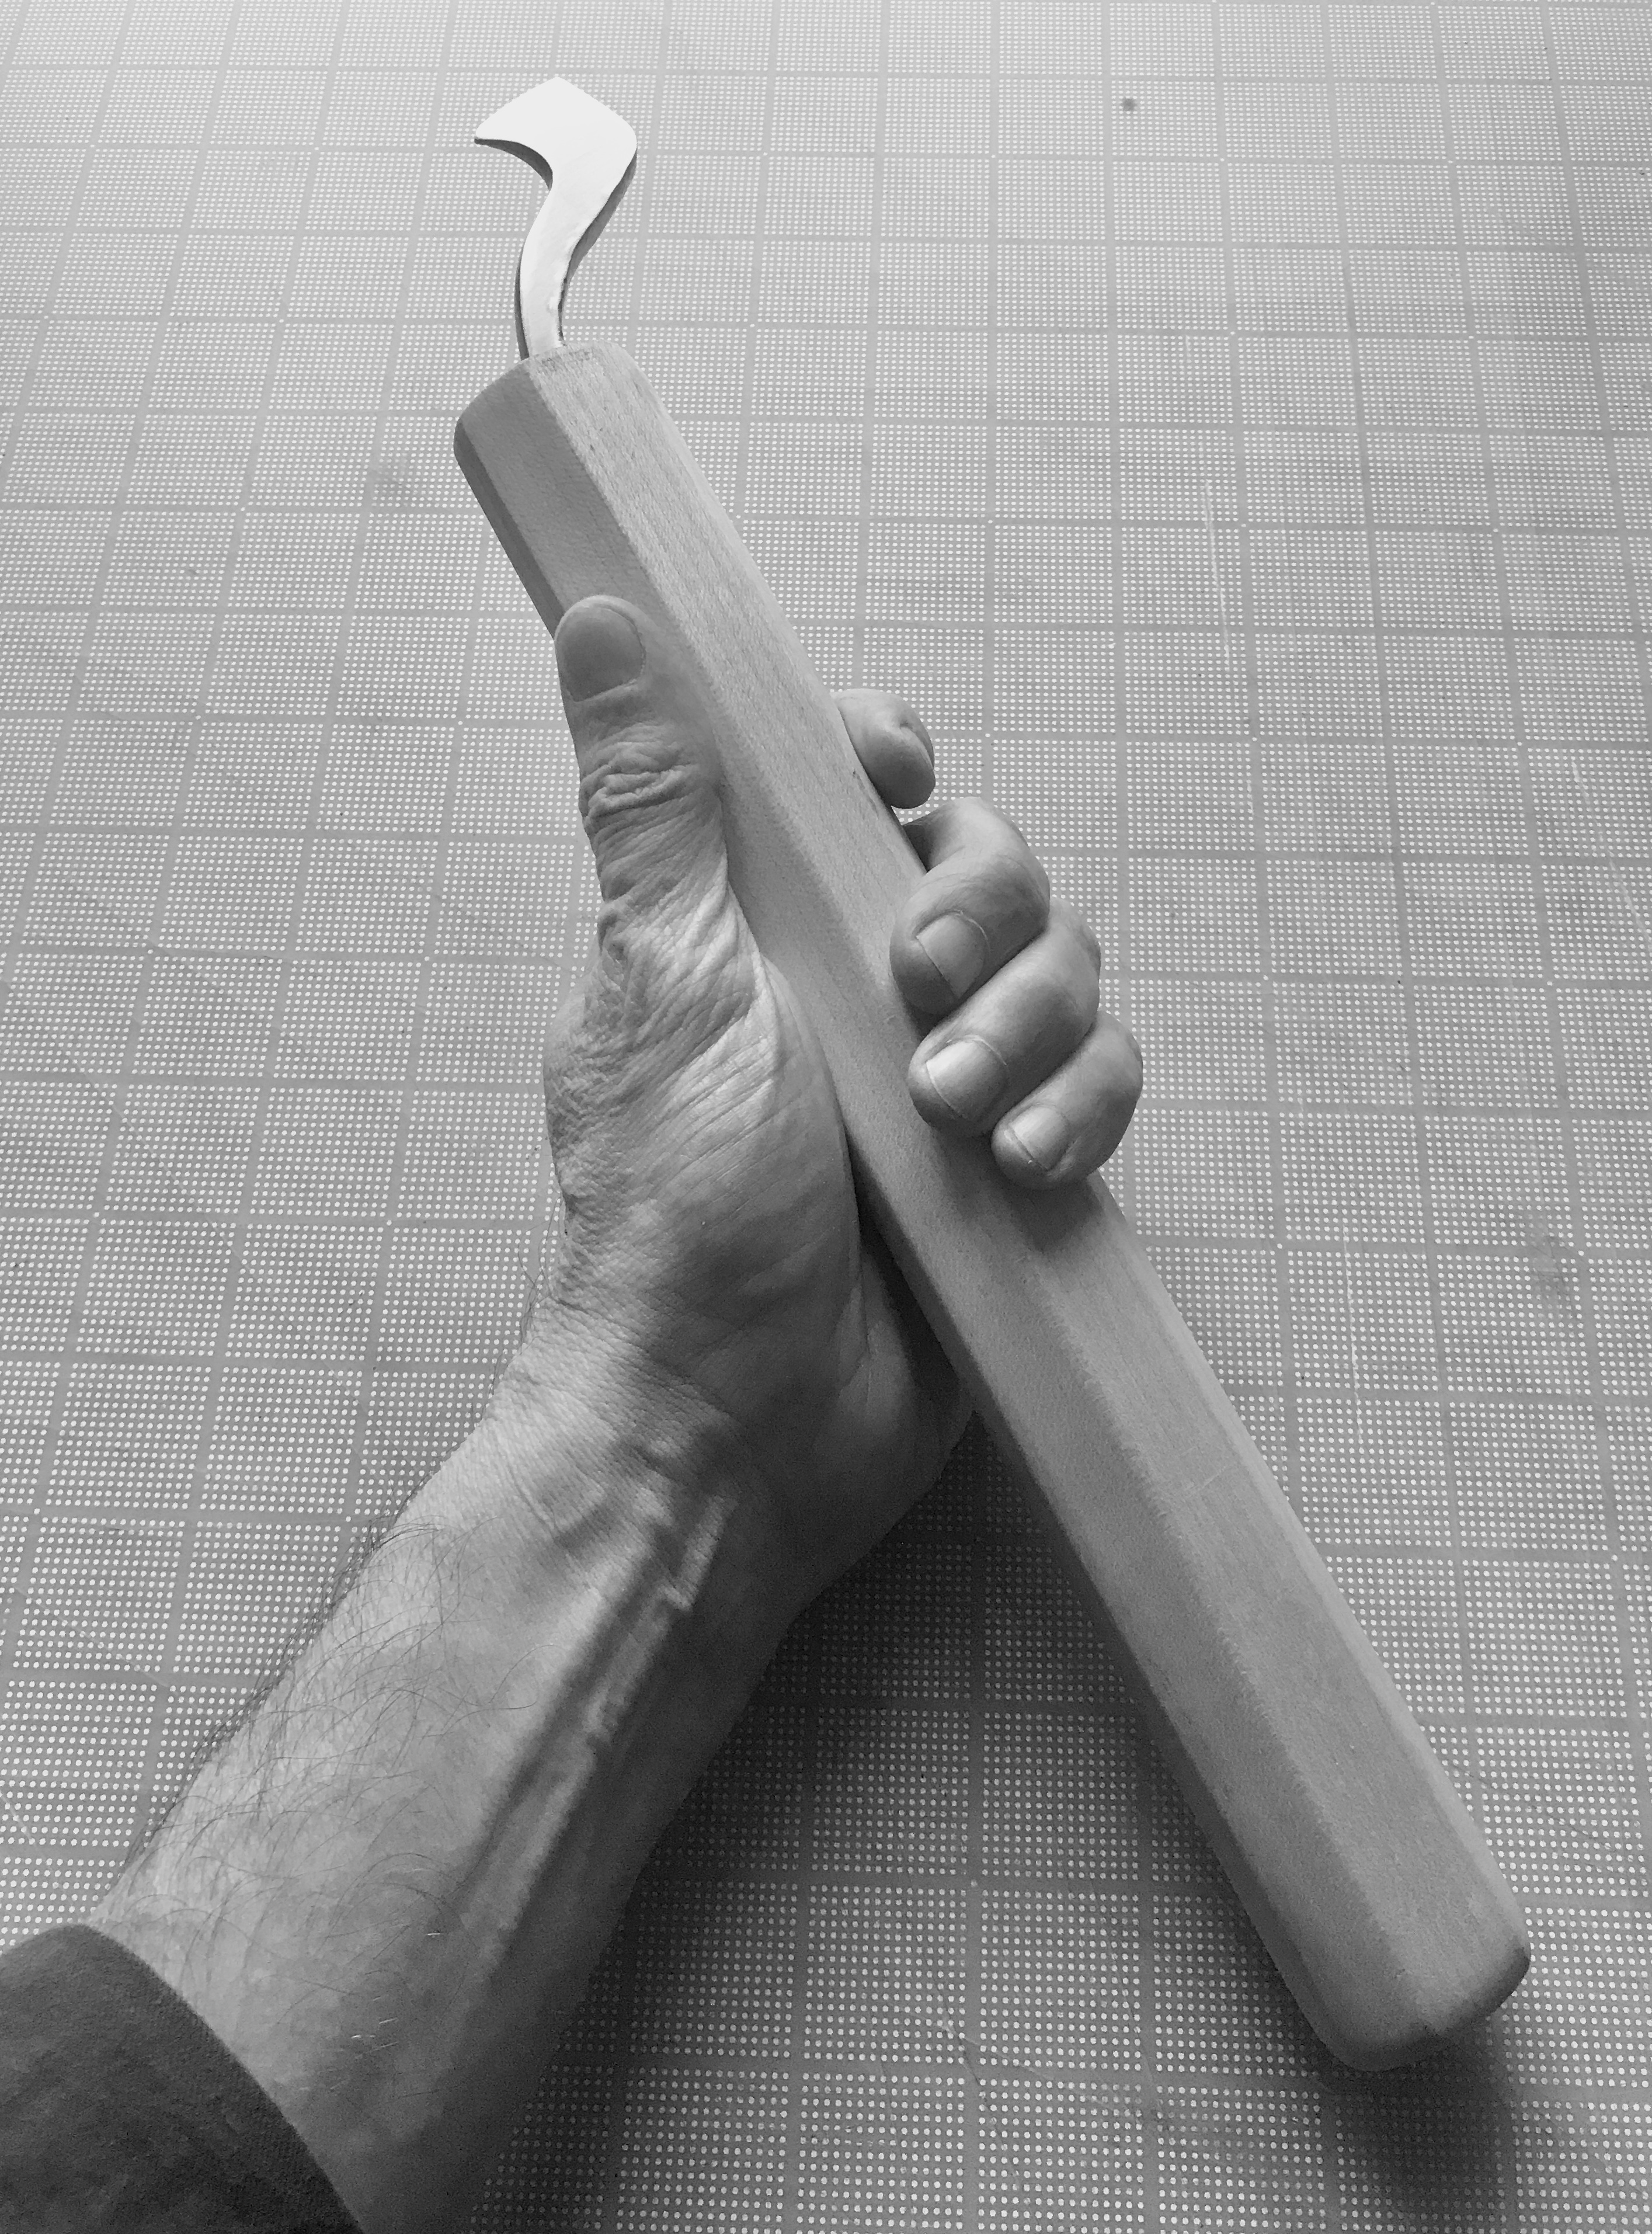
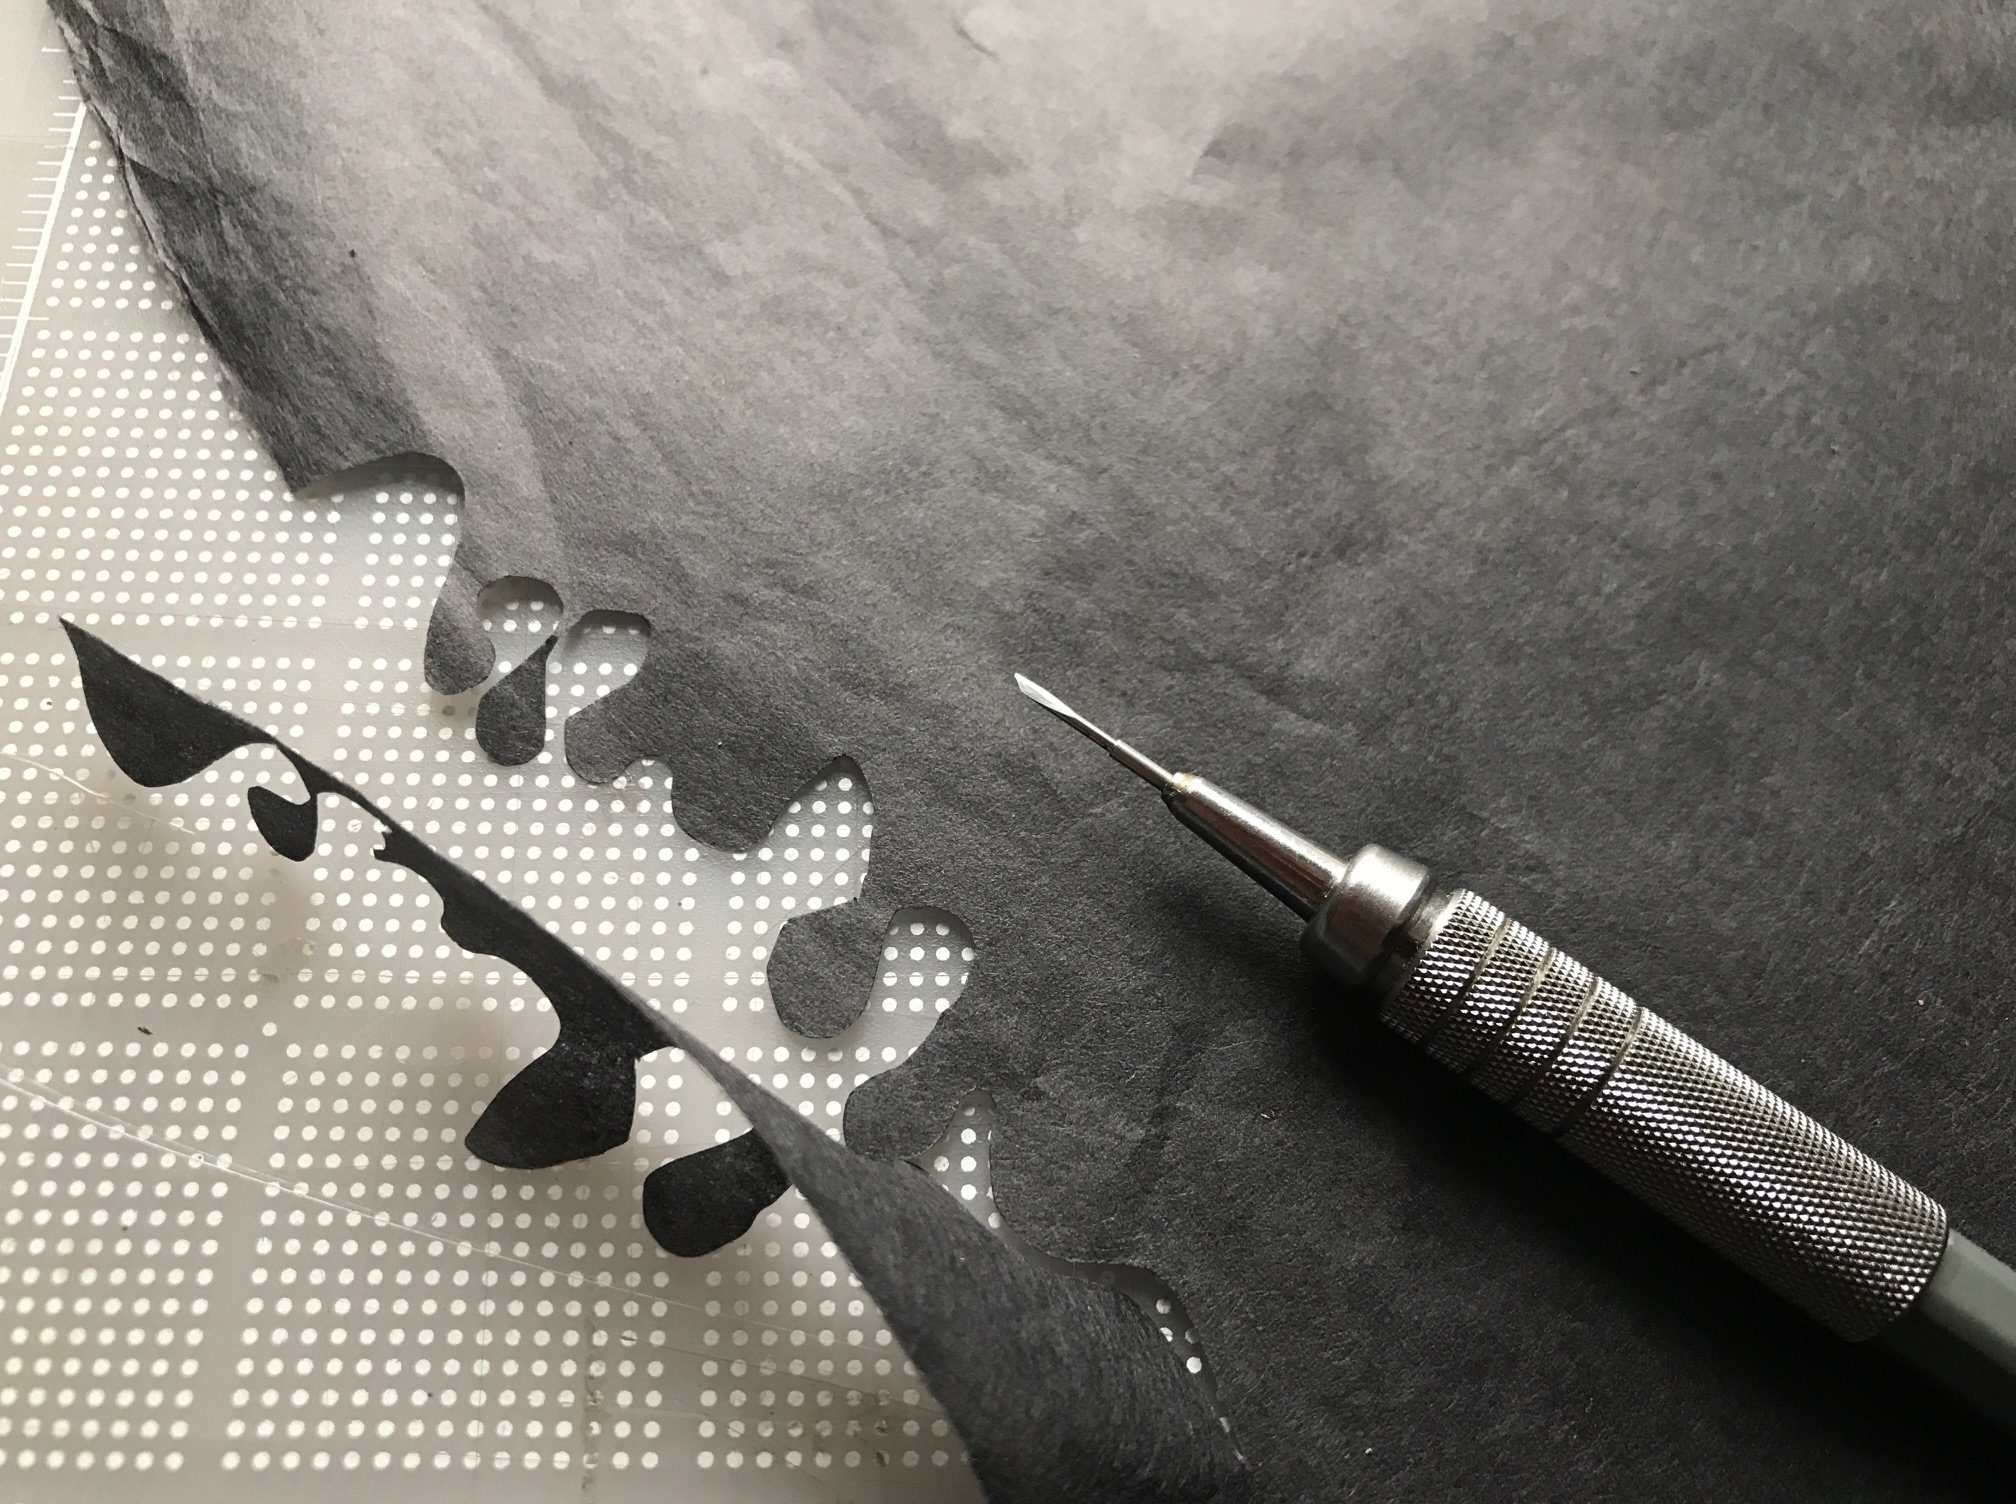
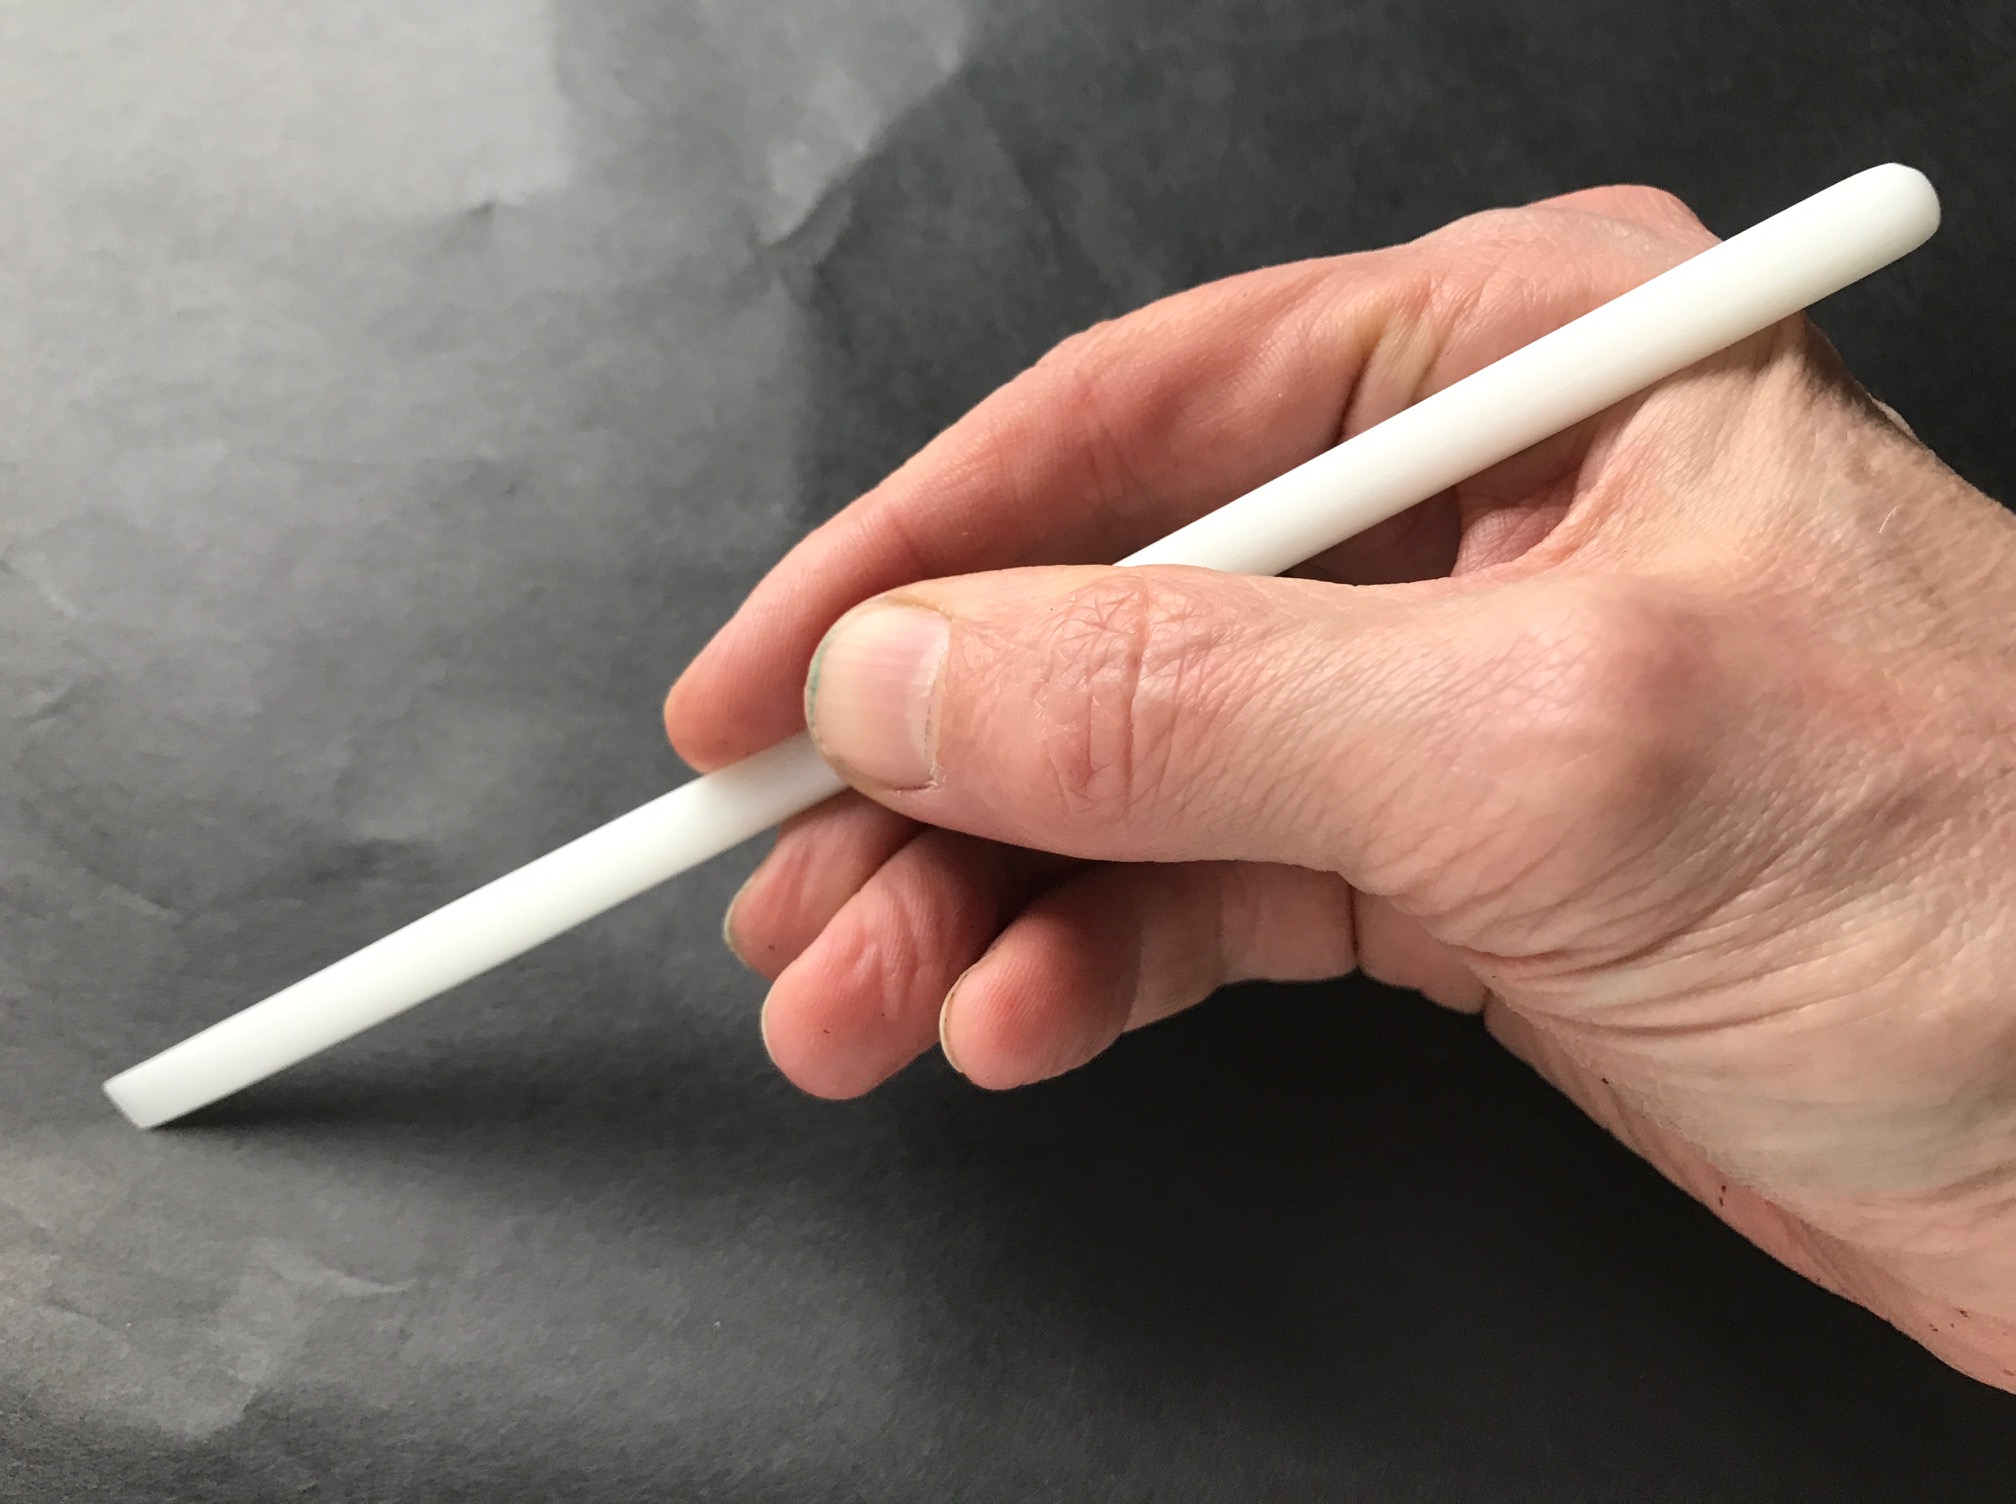
The workshop also covered leather dying, as well as knife sharpening – a crucial tool for working with leather, and leather paring techniques and tools.
I have to say, the workshop happened in the week before Covid-19 began impacting the United States on a massive scale. All of the attendees remained in contact with their home institutions and families throughout the week as news progressed. The workshop, though, provided a sort of conservation utopia where we could turn off the news and focus on the profession that we all love. Jeff Peachey was an incredible instructor, offering vast amounts of knowledge and insight that we can apply to our day-to-day work. And the staff and facilities at the University of Notre Dame provided the perfect environment for our leather conservation deep dive. A sincere thank you to Jeff, the University of Notre Dame, AIC and FAIC for the wonderful workshop.
While I continue my work-from-home, I will be finishing a few of the treatments I had started during the workshop, and also practicing things like leather paring, leather dying, and repair techniques. This will ensure that when we are back in The Preservation Lab, I’ll be able to provide assistance on many of the damaged leather books that are waiting for our tender loving care.

In the meantime check out some more photos from the workshop on our @ThePreservationLab Instagram! And follow us if you don’t already to see what we are up to in our work-from-home spaces.
Kasie Janssen (PLCH) is the Senior Conservation Technician of The Preservation Lab, a collaborative hybrid lab of The Public Library of Cincinnati and Hamilton County and the University of Cincinnati Libraries in Ohio. She works on both special and general collection items for both institutions. She holds an MSLIS from the University of Illinois at Urbana-Champaign, and has been working in the field of conservation since 2014.