Just Looking

Once a year I teach a knife sharpening and tool making workshop in the bookbinding department at North Bennett Street School (NBSS) in Boston.  NBSS has the finest bench oriented two year bookbinding program in the world. If you have the passion, drive, commitment, dedication — and are crazy enough to pursue this antiquated profession in the 21st century — this is the place to do it. You will find many kindred spirits in your cohort.

I cover all aspects of sharpening related to bookbinding: blade angles, bevel angles, types of steel, types knives, types of grits, grit progression, hand grinding using power tools, free hand sharpening, and stropping. These techniques can be adapted to virtually any type of sharpening system: oil stones, diamond stones, waterstones, lapping powders and finishing films. Free hand sharpening throws many students into the deep end, for a while, but ultimately equips them to sharpen most types of edge tools. Most bookbinding knives have complex shapes and handles  which preclude the use of jigs or honing guides.

The foundation of this class is critical looking. Critical looking is not only closely watching the instructor demonstrate a technique, but it is looking at what you have done. Often when sighting or aligning, one eye is better than two.

Once you can visually analyze what your hands have done, then you can correct, alter, adjust, repeat your hand technique. Critical thinking is taught via writing in undergraduate curriculums. Could critical looking be linked to drawing?  Taking a photo or shooting a video can be a useful shortcut for note taking that may gloss over important aspects, such as processing and replicating. Drawing really forces you to look closer, again and again and again.

Critical looking is different from just looking. In a narrow sense it means learning to interpret what you are looking at, what the scratch patterns, reflections, divots, rounded bevels mean in relation to how you were holding the knife. In a broader sense it means understanding  what the effect of your actions are. Critical looking is the basis of all sharpening, maybe all craft skills?


Below are some images of the 2017 workshop shot by Brian Burnett.


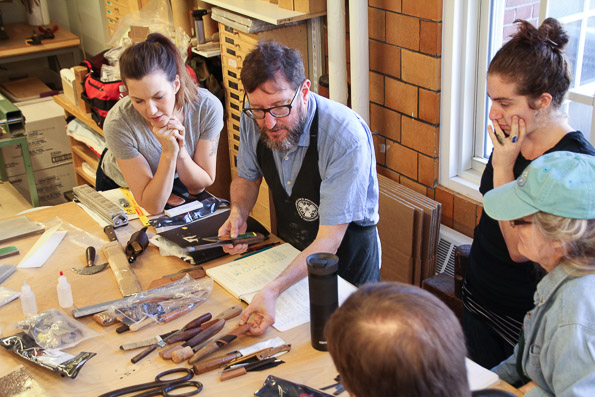
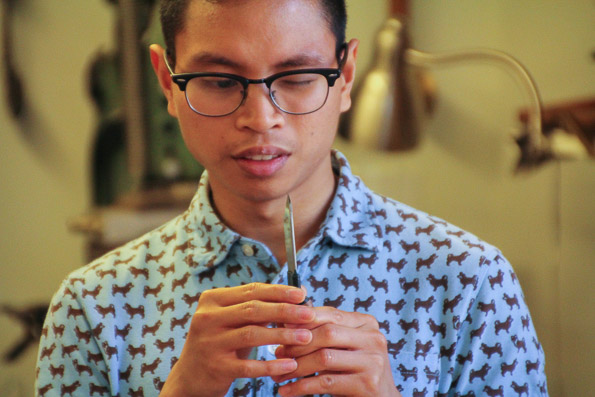
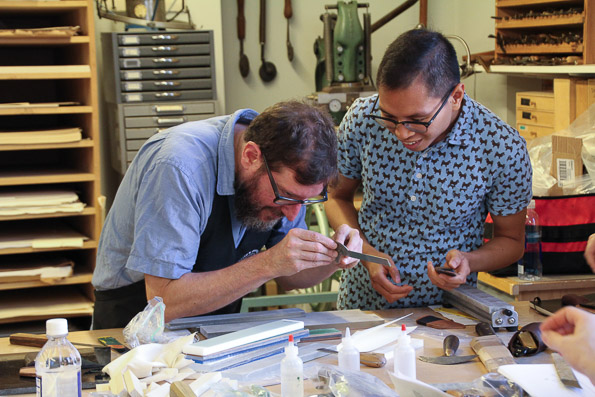
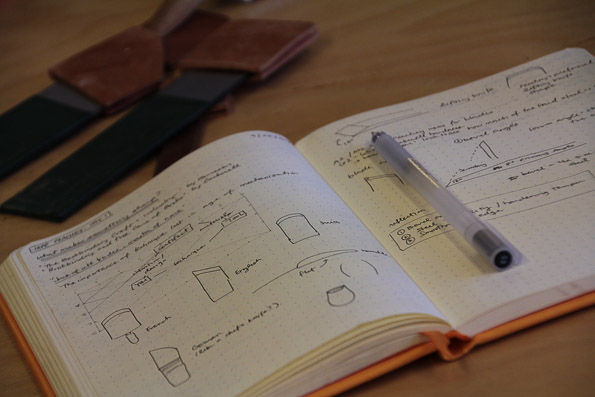
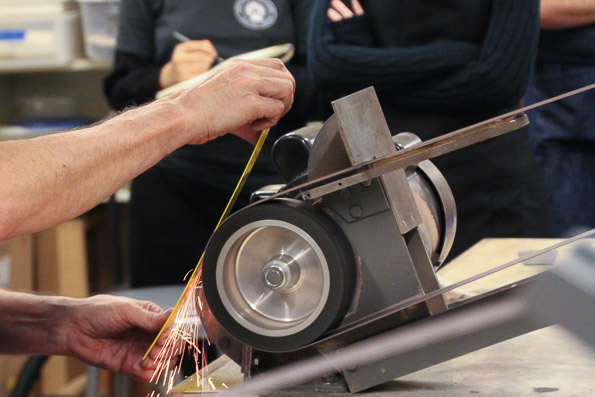
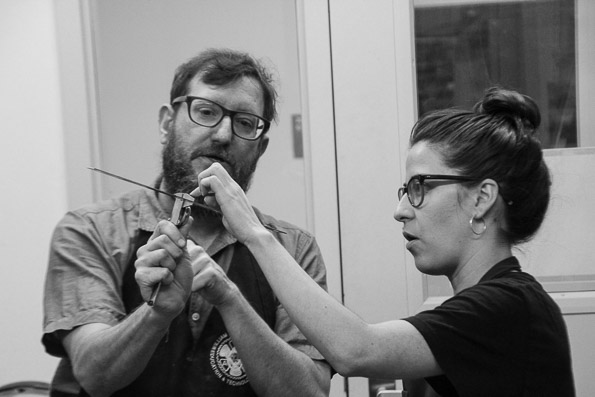
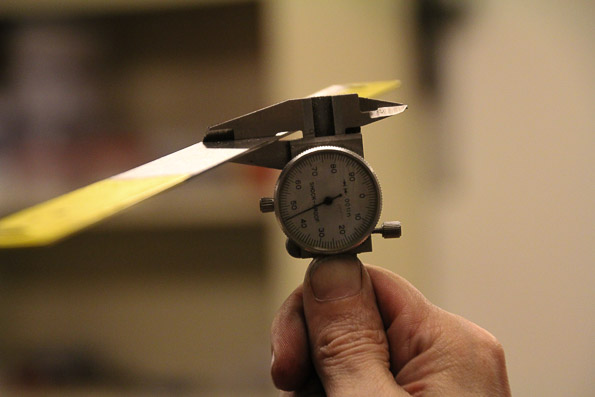
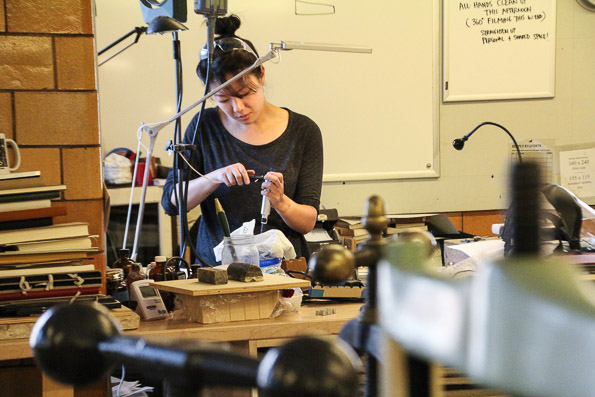
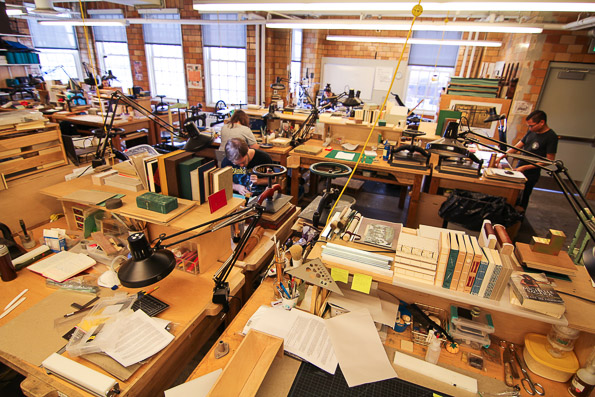
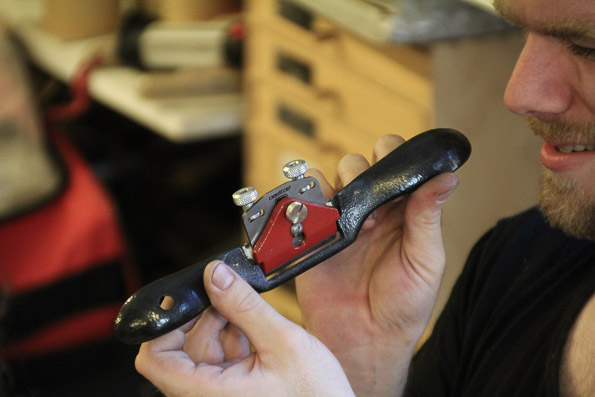
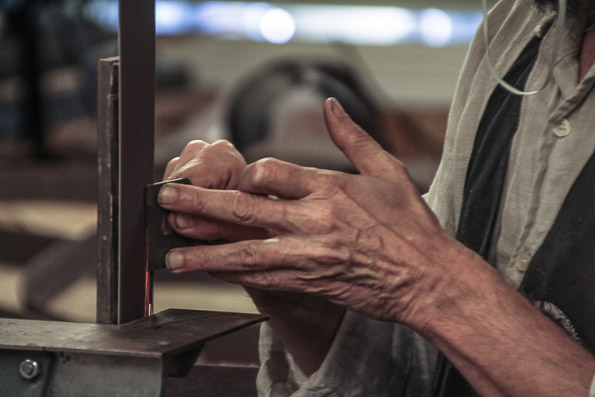
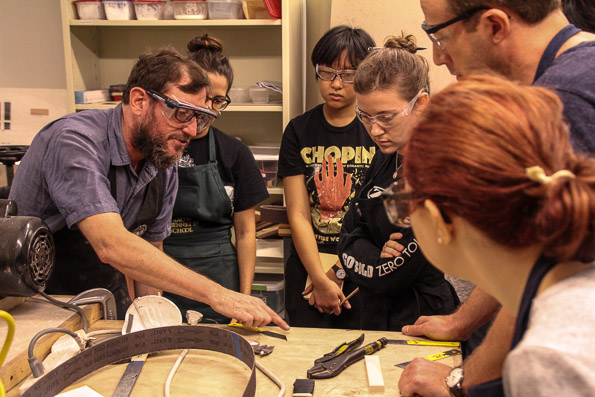
All Photos Copyright 2017 Brian Burnett. And he was critically looking.


Using a Modified 151 Spokeshave to Bevel Binder’s Board

Designer binders, conservators who replicate wooden boards with laminated museum board, and others sometimes have to create a bevel or chamfer in book board. Often this is accomplished by sanding, which is at best a very slow process, and at worst an easy way to create a disgusting amount of dust.  A downdraft table and PPE is recommended.

Beveled book boards were very common in the nineteenth century. Various contraptions were invented to do this, including a specialized board shear that cut at 45, rather than a 90 degrees, a jigged foot clamp and large chefs knife, and a machine that used a woodworkers jack plane running in a track. Large production shops sometimes had a board beveling machine with a rotary blade, but most of us are not so lucky.

As the video below illustrates, it is also possible to bevel binder’s board quite efficiently with a modified 151 spokeshave, a tool which is usually used to thin leather over large areas. Note how much I skew the spokeshave, and how it is in motion when I start the cut. Also listen to the sound: this is what a properly adjusted sharp blade sounds like. Even after spokeshaving, it may still may be necessary to refine the board edge a bit with some coarse sandpaper.

If you are laminating your own boards (de rigueur for high end work), it is a good idea to paste a few layers of colored paper to the level you intend to bevel, in order to judge how deep you are spokeshaving. Since binder’s board is quite abrasive, an A2 or PM-V11 blade is a necessity. And the blades do wear more quickly than when shaving leather. It would be smart to dedicate one blade just for board.


Whatsit #3

It has been almost a decade since my first two whatsit posts,  Whatsit #1 and #Whatsit #2. Number 2 was identified by Tom Conroy, #1 is still a bit of a mystery. For those unfamiliar with this colloquial American term, a “whatsit” is an unidentified object, short for “what is it”? The Mid-West Tool Collectors association often features a number of them in their quarterly publication, The Gristmill. You get a lot for your annual membership from them, including a reprint of a classic tool oriented book. The Early American Industries Association usually features a panel discussing a number of them in front of a live audience. Full bore geeky fun!

Recently a colleague has sent me images of a seriously odd, unidentified tool she found in her conservation lab.  She first thought it was some kind of cloth cutting tool, but it didn’t really work. This makes sense given the conically shaped brass end of it: a cloth cutter would have to have two steel blades. The shape of the handle indicates it is used by pushing forward, but I’ve never seen anything like it.

Here is a more detailed description of the business end. “The cone is not solid.  The brass sheet overlaps the wooden handle for about 1.25 in.  The cone is secured on the handle with two brass “pins” (visible in the photos, 1 pin on each side) onto the handle.  The blade-like part opens wider than is shown in the photo.  I can move it to a  90° angle with the cone.  When I open the blade fully and squint at the base of the blade, it looks as though the same pin(s) attaching the cone to the handle may also attach the blade to the handle.  Maybe it’s a single pin that runs all the way through.” She later mentioned the blade opens to almost 90 degrees.

The size of the brass end seems too large for bookbinding applications, my first guess is it is a type of gardening tool called a dibber or dibble.  Possibly the blade would aerate the soil or cut small roots??  It is odd how new the handle and brass cone looks when compared to the wear and discoloration on the blade.

But I’m not sure of any of this And why did it end up in an institutional book conservation lab? I’m stumped.

ADDED: Sept. 27, 2017. MYSTERY SOLVED!  John Nove, coment below, and in a personal email sent me the identification.  It is a  Humboldt Sharpener for Cork Borers.  Well done John! https://www.humboldtmfg.com/cork-borer-sharpener.html


The stamping reads ” MADE IN WEST GERMANY”
This is the other side. Even the blade pivot pin is made of brass, which suggests light duty use.