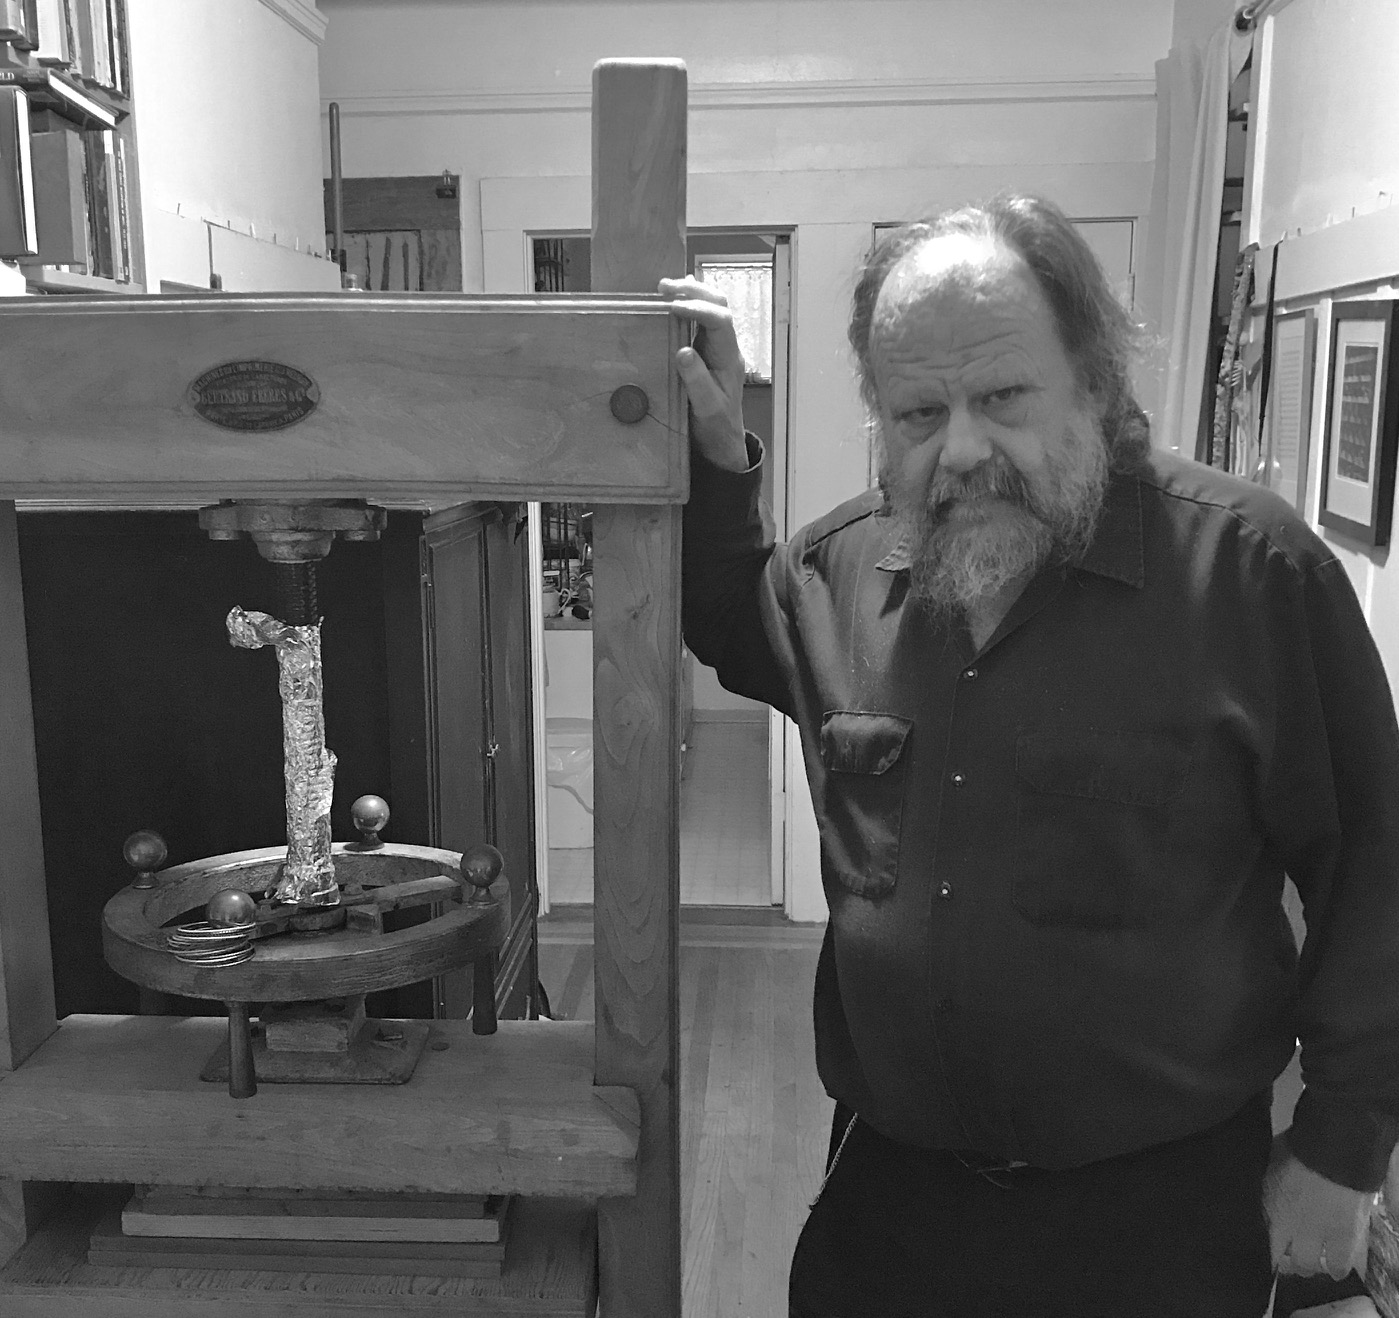
Alessandro Sidoti’s Five Essential Book Conservation Tools

Alessandro Sidoti

Book Conservator, Biblioteca Nazionale Centrale di Firenze

Curved polished needle.  As I sew only for conservation purposes I always use blunt needles that I made through the years, even though I use a specific needle for every sewing structure I still think as this as an essential tool, the curved shape is a must for linked stitches and for in-situ reinforcements.

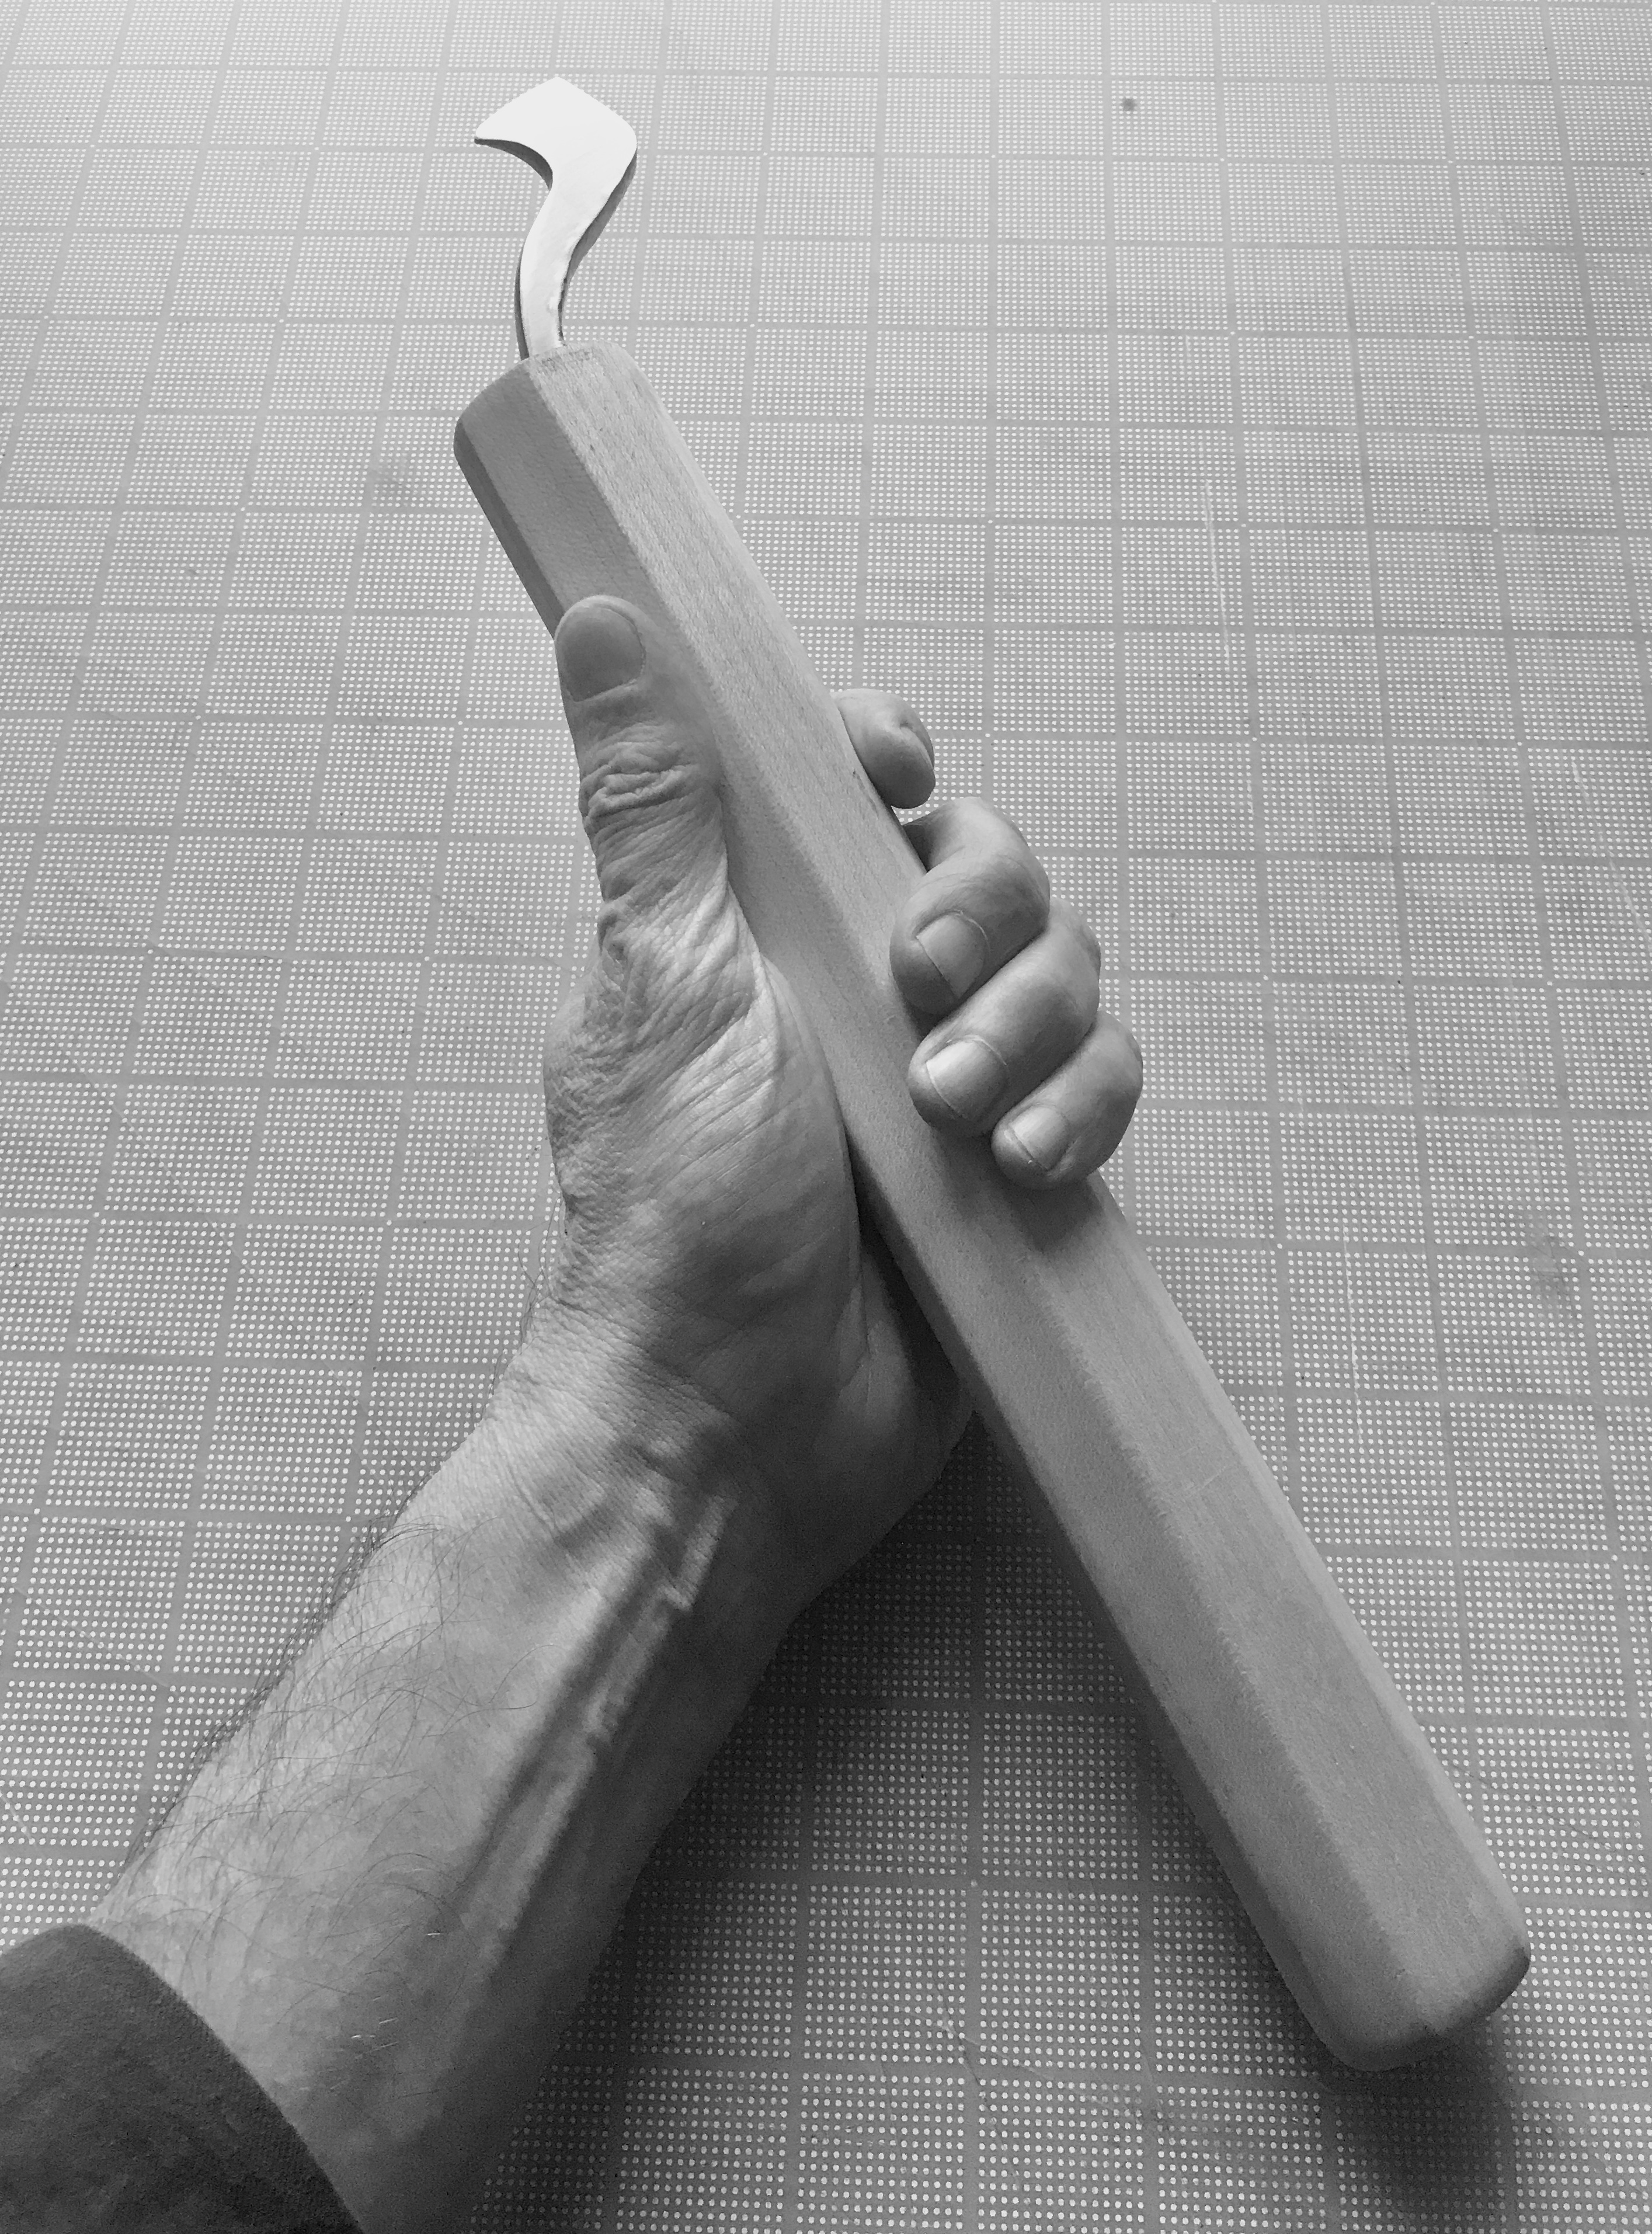
Pin vice. In most of my work instead of using awls I tend to prefer a pin vice mounted with a curved, pointed, blunt or straight needle.

Try square in steel. For most of my work I use my selfmade tri-square in solid steel with a brass handle, it is useful both for cutting and scoring purposes.

Stanley 28-109 slim knife. I have many other knives around, some that I made and some that I bought, but most of the time my hand reaches for this one first.

Ivory folder.  I made it from the handle of a kitchen knife that I bought at an antique market, even though I like to use more modern tools I think that my hand is used to it more than others, I polished it with micro mesh to 12000 grit and this make it very smooth thus leaving very little marks on the surface. The firmness compared to the teflon folder makes it more durable and its pointed shape reaches for every corner.

What I would still miss a lot, depending on the size of the book are: brushes for adhesives, tweezers for delicate work, a proper awl, if there is some wood involved my low angle block plane, if there is paring of leather involved my self made paring knife and my Stanley modified spokeshave. But I have to say that most of the paring work happens in rebinding work that I try to avoid, though this is not always possible.


Tom Conroy’s Five Essential Bookbinding Tools

Tom Conroy asked me an intriguing question.  What are the five most essential bookbinding tools? And why?

I asked a number of bookbinders and conservators to weigh in, and will roll out their answers, one a day, for the next week or so. It is a deceptively intriguing question, as well as being an engrossing distraction. And possibly contentious!

Spoiler alert, if you want to think about this a bit without prejudice, scroll down no further!

Tom Conroy with his pride and joy: a Bertrand Frères Percussion Press. Note the aluminum foil to protect forearms from getting greased.

Tom Conroy

Bookbinder and Book Historian, Berkely, CA.

Bone folder, of course, first; and then I would say knife and straightedge. Spring dividers. Needle. Its a bit more complex than that, of course. My favorite folder is about six inches long, tapers gradually almost from the butt end, and is strongly curved (when “flat” on the bench the tip is raised by almost 5/8″), and is broadly useful for folding, rubbing down, casemaking, and covering; but it is a bit big for working headcaps, definitely too big or a lot of paper treatment and probing where I like a thin folder, and I avoid creasing with it since creasing wears tips so quickly; so actually, several folders are necessary. Well, the more the better, really. A knife and straightedge normally require a cutting board as well, and a knife requires sharpening equipment (disposable blades are never sharp enough) My preferred bench knife is a “small McKay” used by shoemakers and is perfect for use with a straightedge and for disbinding, generally useful, even for light paring, but it it is too short for slitting paper and too small for serious leather paring. Dividers: almost any will suffice, really bad ones are very rare (though I have seen them), and I can, with a strong grimace, imagine making do with just one pair. My preference, though, is 6″ Starrett “Fay” style, with the screw piercing almost-rectangular legs. Needles: now there’s a essay, good ones haven’t been made for at least half a century now, but some needle is indispensable. It’s hard to stop at five. My first thought, before I remembered needles, I had a paste brush on the list (at least 1-1/8″ diameter, usable for hot glue in desperation, but never for PVA); but then I recalled Bernard Middleton pasting up leather for rebacking by grabbing a handful out of the pot and scrubbing it in with the flat of his hand….I think he did it to shock the young folks, that workshop was full of French-style design binders and newly-minted program conservators, and while Bernard was as gentle and quiet as any man I have ever seen, once in a very great while he would show a touch of teasing, immediately hidden away again. I’d find it hard to do without awls (four main kinds in constant use for binding, and others for leatherworking and woodworking). Long tweezers and needle-nosed pliers would be hard to do without. But, on balance: bone folder, straightedge, knife, dividers, needle.


New Tool for Sale! The Creaser

The creaser is making a dark line with a flat bottom even when used at room temperature. 

Using a creaser is one of the easiest ways to impress a solid black line in leather. Simply dampen the leather overall, score a line with a bone folder and straightedge, then rub the creaser back and forth. Or some prefer to score a straight line on dry leather, wet the line with a small brush, then use the creaser. The lines I made in the images were done with a room temperature tool, though with some leathers a darker line develops if used warm — but not hot.

Overall length is about thirteen inches. The maple handle is eleven inches and octagonally shaped. 

The design of this creaser is based on an early 20th century Frederick Westpfall tool in my collection. You can burnish the line you make by “jiggering” it back and forth, increasing pressure as it forms a groove. The burnishing gives the dark blind line a sheen. Once a basic depression is formed, the creaser slides like a cross country ski in a groomed track. The length of the handle allows for two-handed use to apply extra pressure, and you can even lean into it a bit with your shoulder.

The resulting blind line is flat on the bottom and reflects light evenly, unlike marking leather with a bone folder or other irregularly shaped object. Since the tool is usually used at ambient temperatures or only slightly warmed, there is no risk of burning the leather.

Top view of the creaser with hammering marks left in place. 

The thick maple handle is easy to grasp with one or two hands, and lean into with your shoulder. Overall length is about thirteen inches. Brass head with maple handle.

Order your creaser here.