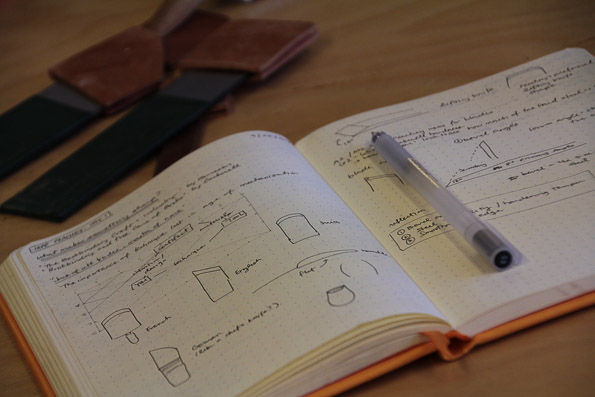
Traditionally, leather paring knives either have round or straight cutting edges. I discuss the advantages and disadvantages of each in this post. I usually use an English style straight blade, but became tired of the fact it could only be used for edge paring. Partially inspired by the rounded corners of a spokeshave blade, I made a couple of other modifications to a standard M2 English style knife so that it can be used for more than edge paring.
A slightly curved cutting edge on essentially an English style knife allows it to scoop out leather, necessary for the spine area, headcaps, and decorative work. The blade is oriented at a 45 degree angle, like an English knife, so right and left handers need to purchase different knives. The corners of the knife are rounded so that the tip or heal will not cut through the skin while performing this scooping action. The tiny secondary bevel allows quick resharpening.
This knife can be used for all types of paring necessary in bookbinding: edge paring, reducing spine and caps, paring deep into a skin (similar to a spokeshave’s action) and even for overall scraping, if you are into that.
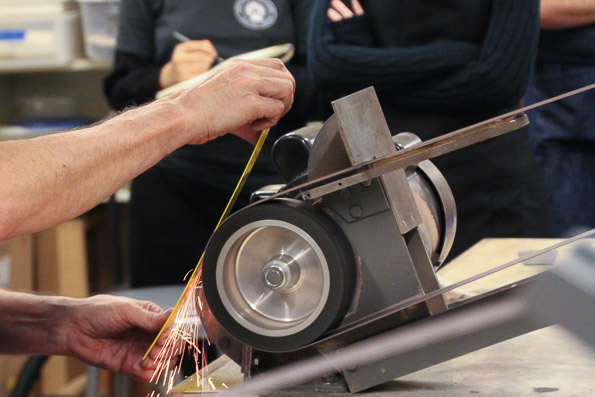
A lower angle primary bevel cuts down on the amount of time it takes to resharpen the blade, since there is less metal to remove. The 13 degree cutting edge is only a millimeter or two. The disadvantage is that there is not a large enough bevel that you can feel when you put your knife on the sharpening substrate; you have to trust your hands and the angle you are holding it at. This is quite similar to sharpening a kitchen knife by hand. Another advantage of the small secondary bevel is that it can be stropped back into shape very quickly, again because not much metal has to be removed. This is a perfect blade for sub-micron stropping. M2 steel seems easier to strop than A2, for some reason.

The slightly curved blade creates more opportunity to find a sharp area as the knife dulls, so it can be used longer. Straight blades, as they become dull, don’t seem to bite the leather enough to get started with a cut. The disadvantage is you can’t just rub it back and forth like a standard straight edged knife when resharpening. Stropping takes a slight twist of the wrist, to keep parts of the cutting edge in contact with the strop throughout the stroke.

The third change is that the tip and heel of the cutting edge are rounded. This prevents the knife from cutting through the skin when you are working away from the edge, similar to how a spokeshave blade works. In practice, I don’t miss having a pointed, sharp tip. A rounded tip also makes it less likely to dig into your paring surface.

All of these aspects combine to make a sensitive and versatile knife intended for professionals. An analogy for cyclists might be this is more like a track bike than a road bike. This knife, in addition to edge paring, can do most of what a spokeshave can do, albeit with more “workmanship of risk”. If you want the most versatile knife on the market, look no further.

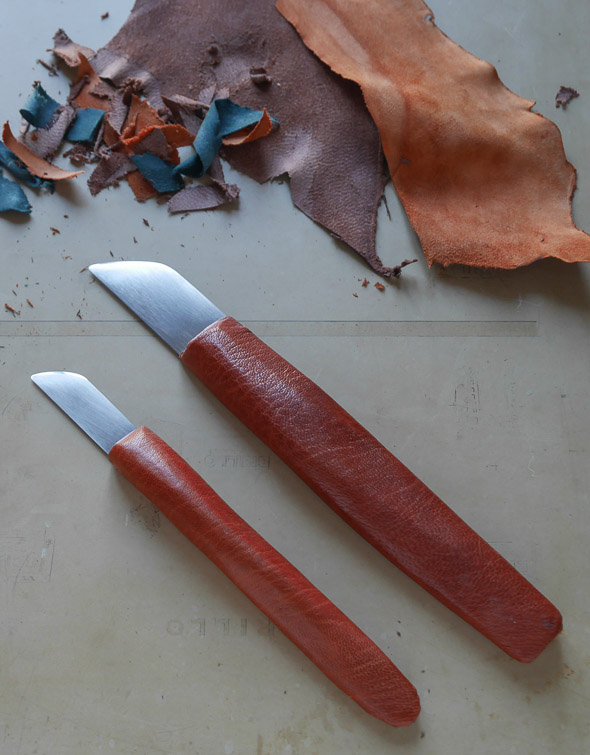
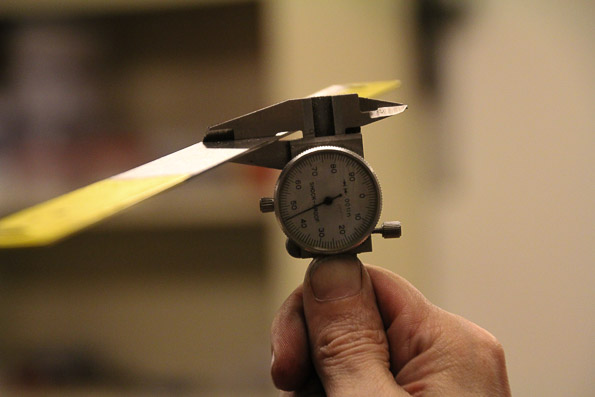
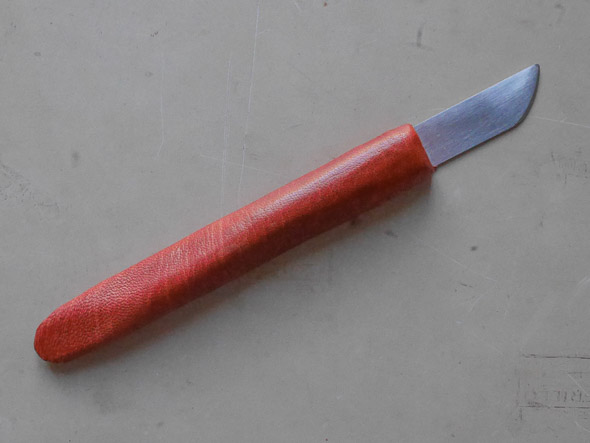
M2 Hybrid Paring knife. M2 Steel. The handle is hand carved wood, covered with vegetable tanned goatskin, and ergonomically shaped. The metal is .040″ thick, the handle around 5/8″ at the thickest point. It is about 1 inch wide and around 8-9″ in overall length. The secondary bevel is 13 degrees. Hand sharpened to .1 micron.
The M2 Hybrid Paring Knife. $250.00. Order here.
Small M2 Hybrid knife. The best knife for onlays and intricate leather decorations. Also great for paring paper. M2 Steel. The metal is .025″ thick, about 5/8″ wide and 6-7″ long. Leather covered wood handle. The secondary bevel is 13 degrees. Hand sharpened to .1 micron.
The Small M2 Hybrid Paring Knife. $150.00. Order here.