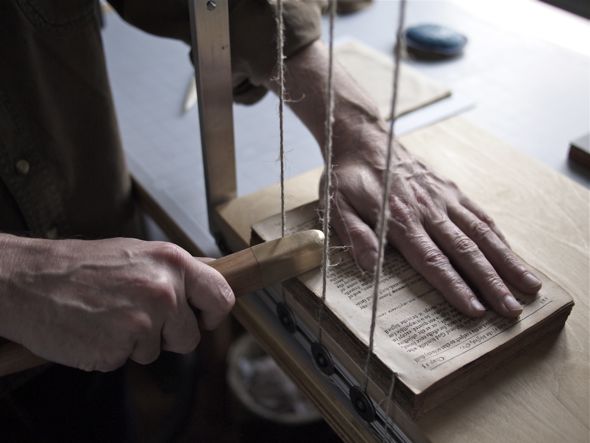

A loaded stick (aka knocking down stick) is great for firmly compressing signatures while sewing. A gentle tapping can accomplish this task much more effectively than leveraged pressure. This stick has a comfortable waxed cherry handle and a brass head. The head is screwed into the handle and gently rounded on the edges to avoid damaging the leaves. This tool has a wonderful balance. The head is 2 inches (5cm) long, 1 inch (2.5 cm) wide, and .75 inch (1.75 cm) thick. It is generally used on the wide portion, though the narrow area can be used if the supports are closely spaced, or there are specific areas that need more compression. Overall length 10 inches (25 cm), and overall weight is approximately 8 ounces (230 g). This is a safe christmas gift for any bookbinder, since this is the first public announcement of my version of these, and I’ve only given one to a friend. $125.00
*

Gearties are essentially a twist tie on steroids, and are available is a variety of lengths. The one pictured above is 32 inches long. They consist of an unhardened (steel?) core and some type of rubber (silicone?) exterior that is waterproof. I’ve used them for numerous purposes in and out of the studio: to hold a flashlight, support a book board, keep a frozen duck breast underwater for a quick thaw. The possibilities are endless. Gearties are on sale everywhere, and are made by Niteize. Various prices for different sizes.
*

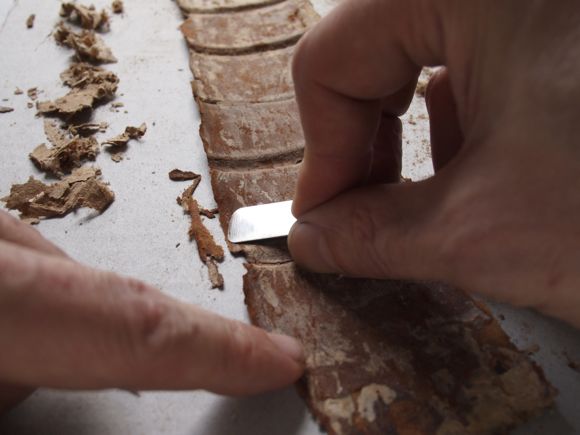
A self setting, air hardening rubberized clay like material called sugru is great for pimping out your favorite knives as well as other (non-book) repair necessities. I made some more comfortable finger rests for my favorite utility knife, the Olfa Model 300. Again, it seems to be some kind of silicone, the ingredients list Methyltris (methyl-thylketoxime) silane, Gamma-Aminopropyl Triethoxysilane. Available from Sugru. Various prices for different sized packets.
*
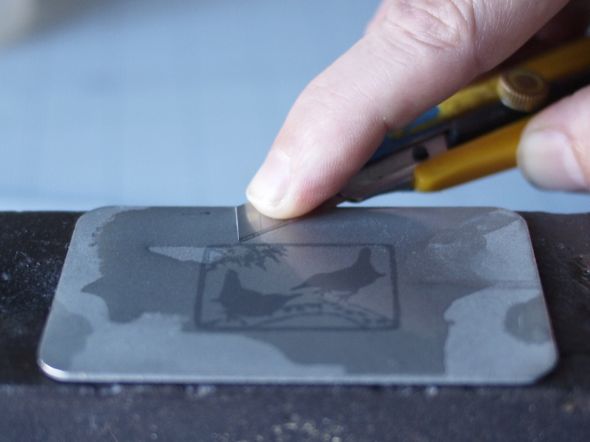
This .25 micron diamond sharpening card from Wren Haven Tools is perfect for keeping small blades sharp. Only $12.00.