Mosda Clipless Paper Fastener

mosda1
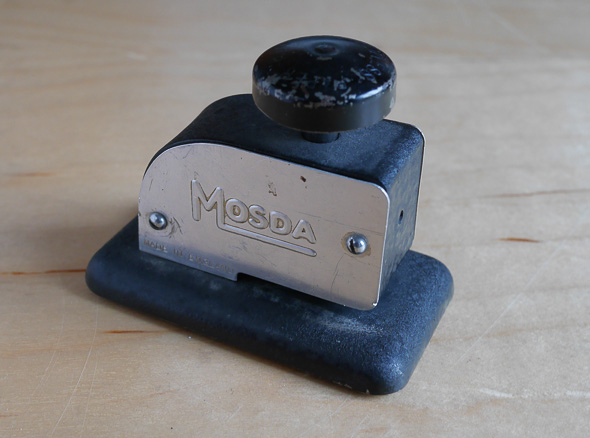
Fig 1. Mosda stapleless stapler. Approx. 9 x 5 x 7 cm. My Colllection.

This Mosda clipless paper fastener is one of a large number of machines designed to attach sheets of paper together without the use of external materials. They date from the early years of the twentieth century and are often referred to as stapleless staplers. These are admirably simple and efficient machines.

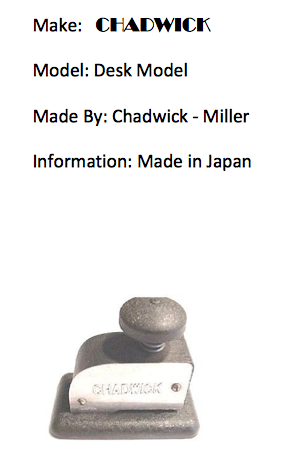
My machine was made in England, and  looks like it is from around 1930. The Early Office Museum has some great information on the history clipless paper fasteners, unfortunately it does not record the cutting patterns of the machines, which is necessary to determine what particular machine was used. The wonderfully detailed blog, The American Stationer, examines a number of paper fasteners, but not the Mosda. Except for a couple of ebay and etsy sales, I’ve not found much info about it, other than an almost exact copy ( maybe the original?) machine called the Chadwick. (Fig 2.)
 

Screen Shot 2015-08-31 at 8.09.34 AM
Fig 2. http://mystaplers.com/Books/GuideToAntiqueAndVintageFasteners.pdf

According to the Early Office Museum Website, machines for stapleless paper fastening started in 1909 by two competing firms, the Bump Manufacturing Company and The Clipless Paper Fastener Company.  There is some confusion as to which company came up with the first machine. Yet even today, you can buy a new Japanese machine,  which uses almost the exact same punching configuration, though in tandem.

The mechanism is quite ingenious, and even though this machine is very well used and the blades slightly dull, it still creates a surprisingly secure paper attachment with a single push on the top knob. My machine is missing a spring under this knob, so I need to manually lift the knob back to the start position before making a new attachment.
 

mosda2
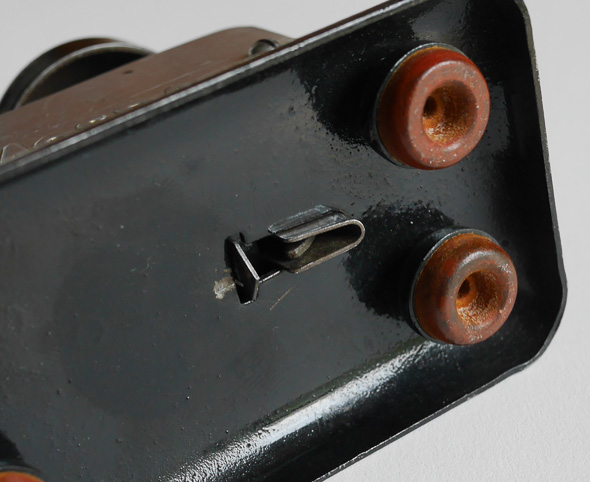
Fig 3. The “U” shaped punch and the slitter punch on the left side.

First the stapler punches a “U” shape and a small straight line behind it. For clarity, I am showing the mechanism on the bottom of the machine. In use, the paper is inserted in the slight gap between the bed and the half arch head as seen in Figure 1.
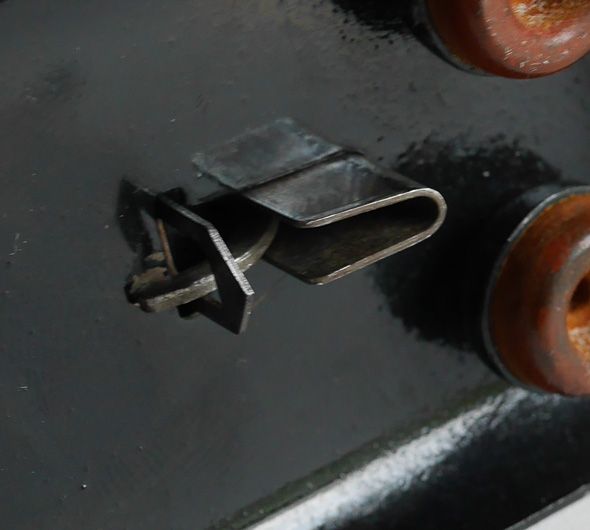
mosda3
Fig 4. This shows the tongue which pushes the punched paper tab (from the “U” anvil) into and through the stack of paper. It locks the paper into place by pulling it through the slit when the mechanism is raised.

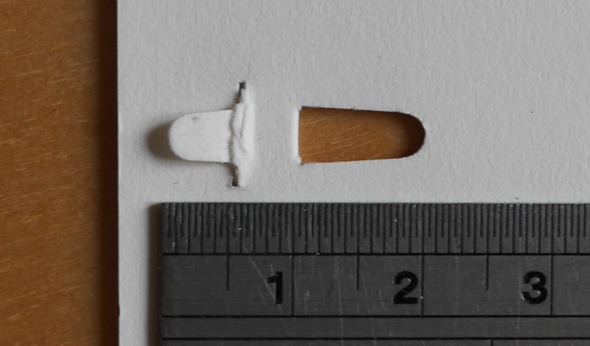
Next, a tongue pushes the attached tab of paper from the  “U”  punch through the slit. This is then raised to the top of the papers, securing them. Other manufactures report that six to twelve sheets are the maximum number that could be punched through, though of course this depends on the thickness of the paper. I’m pleasently surprised this machine works so well, as can be seen below, considering that the punches are unhardened pressed steel.
mosda4
Fig 5. Paper attachment as viewed from the top. Ruler in cm.
mosda5
Fig 6. Paper attachment viewed from the bottom. Ruler in cm. There are small tears on either side of the slit, which happens when the tongue pushes the paper through the slit.

Examining these stapleless fastenings could even generate useful information, such as establishing the  terminus post quem a stack of sheets were assembled. With such obvious tool marks, I imagine it wouldn’t be too difficult to get a sense of a range of shapes and match them to extant machines. Or maybe these antique machines still have uses for the inventive book artist, like non-adhesive corner locking for limp structures?
 

Sobering Statistics Concerning Book Conservation

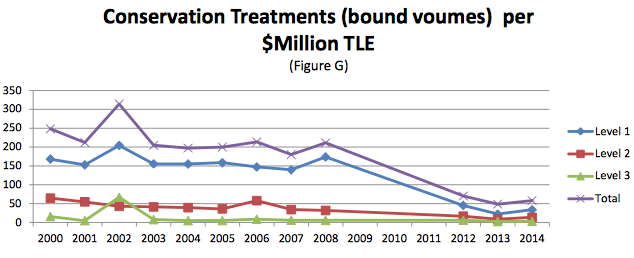
There are some sobering statistics in The FY2014 Preservation Statistics Report, by Annie Peterson, Holly Robertson, and Nick Szydlowski.  Eighty-seven cultural institutions responded; primarily academic libraries. Although the authors caution about extrapolating the data since the respondents were self-selecting, I find it difficult not to view the results as roughly indicative of general trends in libraries. The most striking finding is the steady decline in the money spent for bound volumes.

Screen Shot 2015-08-17 at 8.58.13 AM
Source:http://www.ala.org/alcts/sites/ala.org.alcts/files/content/resources/preserv/presstats/FY2014/FY2014PreservationStatistics.pdf Page 10.

The treatments reported tend to be quite utilitarian, more aimed at circulating rather than special collections. For example, a Level 1 treatment takes less than 15 minutes, a Level 2 between 15 and 120 minutes, a level 3 more than 120 minutes. Most conservation treatments for special collections materials take much longer than 120 minutes.

The authors report that “from 2000 to 2014, total conservation treatment of bound volumes declined faster than commercial binding; treatment declined by 77% in that period, while commercial binding declined by only 69%.”  This survey includes in-house and outsourced conservation activities: 92% of respondents had at least some type of in house conservation program, and 70% outsourced at least some treatments. In all, the survey encompasses the treatment of 1.6 million items.  The only growth area is a slight—though not dramatic— increase in spending for digitizing and in reformatting of audiovisual materials.

No, the sky is not falling, but as a book conservator, it is worrisome to see these trends. Frankly, I don’t see the situation changing significantly in the coming decades, until we reach the point where the book and the text have become totally individuated. Then, hopefully, the book will experience a reappraisal.

It is well worth reading the full report:  The FY2014 Preservation Statistics Report.

Historic Book Structures for Conservators 2015: One month, seventy-two books, seven students, and one tired instructor

historic structures class 2015
L-R: Jeff Peachey, Emilie Kracen, Catherine Stephens, Fionnuala Gerrity, Katherine Le, Diana Avelar Pires, Amber Hares, Valeria Kremser
photo-25
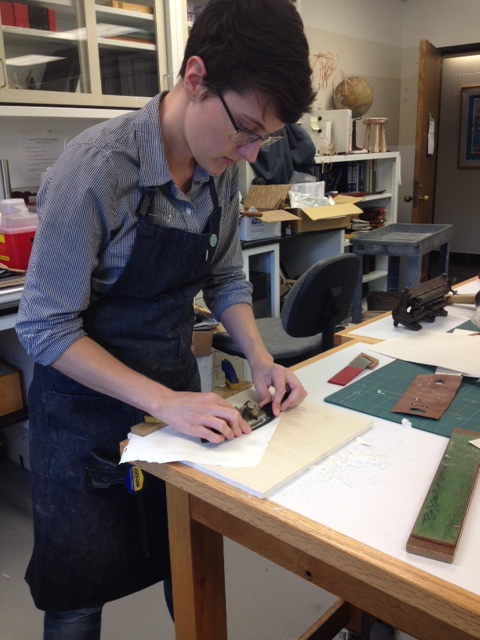
Cat Stevens spokeshaving an alum tawed skin. You need a very sharp spokeshave, modified for leather work, to tame this abrasive material.


photo 2-2
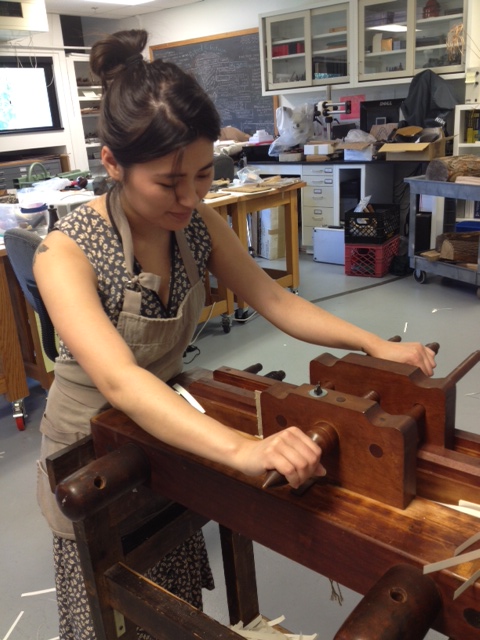
Katherine Le ploughing on a vintage Hickock “Amateur or Small Size” press and plough. Oddly, in a catalog ca. 1940 the regular and small size are the same price. I would be happy to trade my small one for a regular size!
photo 3-2
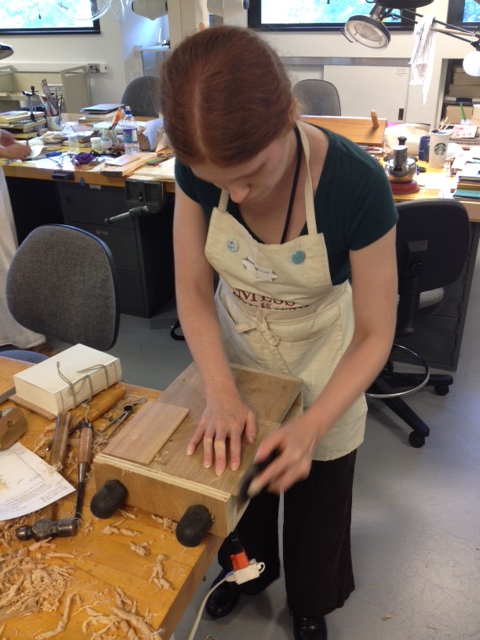
Fionnuala Gerrity using a low angle block plane to shape her wooden boards. She is using a  Lee Valley Veritas Apron Plane, which is a great value at less than $100.
photo-27
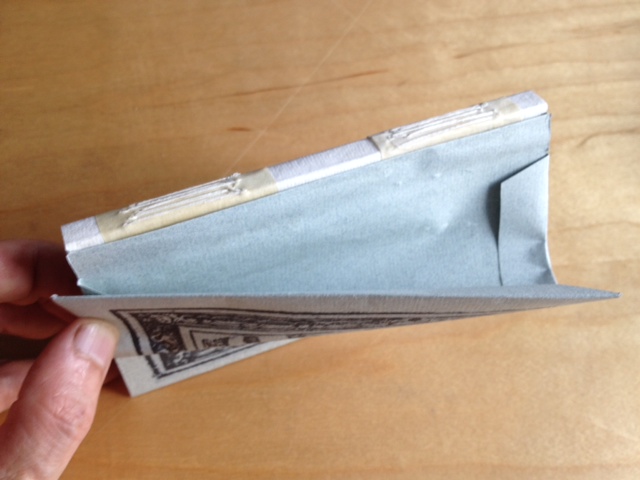
A model of a ca. 1500 Italian long stitch book made with guest Instructor Maria Fredericks.
photo 4-2
Elissa O’Loughlin giving a demonstration of semi-traditional Japanese paste making. Wait, how did she get into this class?!?
photo 5
Val Kresmer carving some channels in her wood boards. In front of her are some of the bookbinding, woodworking and metalworking tools for the class.
photo-26
Amber Hares sewing a primary end band with a back bead on a 16th C. German model. This will later be covered with a secondary two color front bead.


diana cutting boards
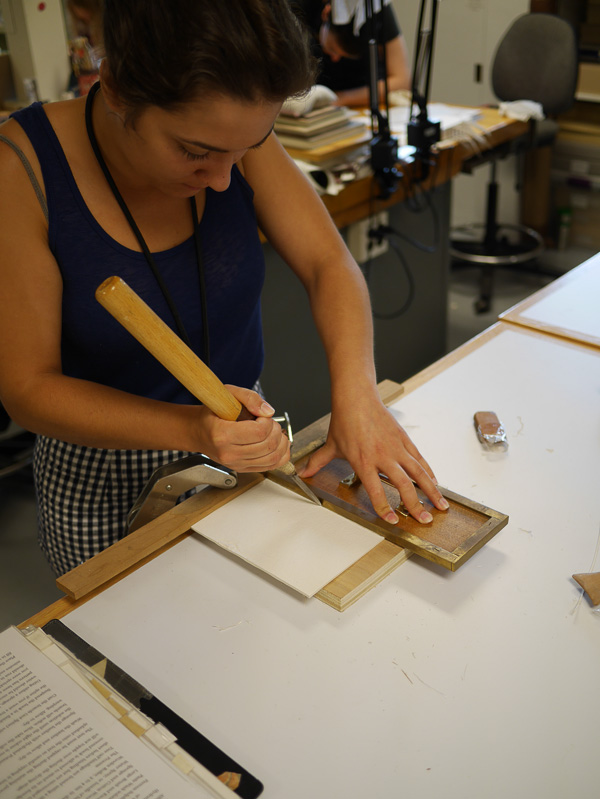
Diana Avalar Pires cutting through pasteboards with a reproduction 18th C. pointe for her full calf French model.
emily fraying slips
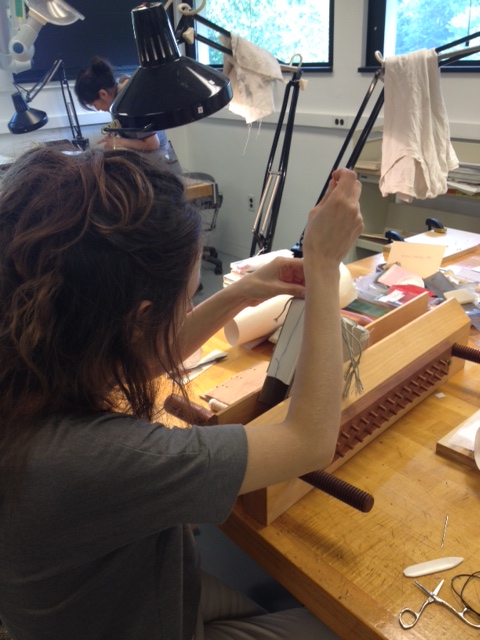
Emilie Kracen fraying and pointing slips.