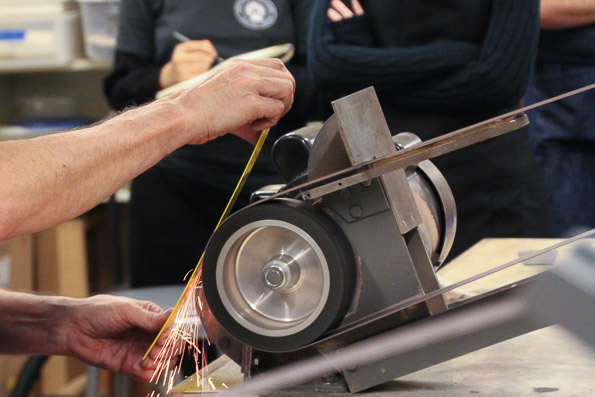
A meter was originally intended to be one ten-millionth of the distance from the North Pole to the South Pole where it passed through Paris. The Measure of All Things is a facinating book by Ken Adler which documents this feat of triangulation — in the middle of the French revolution, no less — and also explores how the defined length of a meter has since changed. A millionth of a meter is a micron. As a point of reference, a hair on your head is about 40 microns wide. A thousandth of a micron is a nanometer. Yes, I’ve been thinking small!
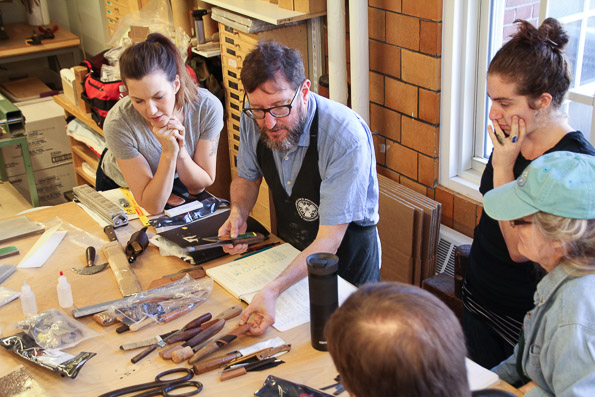
Typically, I hand sharpen following a grit progression of 80, 40, 15, 5, micron on 3M microfinishng films with water as a lubricant, strop with a .5 micron Chromium Oxide (CrO2), honing compound on the flesh side of a horse butt strop, then finish stropping on naked flesh side kangaroo. Don’t get me wrong, this works quite well. And there are many other ways to sharpen a knife.
Inspired by some other sharpening approaches, two aspects of my routine seemed to need a little tweaking. First, I eliminated the large jump between 5 and .5 micron, and found some finer grits for a final stropping. Adding a 1 and .3 micron 3M PSA finishing film filled in the gap nicely during sharpening. And a final stropping with a .1 micron Poly Crystalline Diamond (PCD) diamond on polyester leather has dialed up the sharpness to eleven.
PCD or Cubic Boron Nitride (CBN) compounds smaller than .25 micron don’t work well on real leather for two reasons: the expensive spray soaks into the leather and disappears alarmingly fast, and the natural abrasiveness of the leather itself is sometimes coarser than the spray.
One solution is to use a polyester leather, which is similar to “nanocloth”, a term Ken Swartz has coined and a great product he sells. Polyester leather is made from an ultra micro fiber that holds sub-micron sprays incredibly well, is very thin so the cutting edge does not become rounded, and is extraordinarily durable. Human hair is roughly 20 denier, but this ultra micro fiber is .04 denier. Denier is the mass in grams of 9000 meters of a given fiber. It is difficult to imagine how small and light this fiber is: 9 kilometers (over 5.5 miles) of it only weights .04 grams! All of these tiny little fibers hold the diamond particles loosely while allowing them to move around a bit, exposing new sharp edges. I think this is why they last so long.
In other words, this polyester leather is a perfect substrate for .25 micron and smaller sized sprays. I’ve experimented with the .25 micron (~64,000 grit, 250 nanometer), .1 micron ( ~160,000 grit, 100 nanometer), and .025 micron ( ~640,000 grit, 25 nanometer). These are available in PCD and CBN. The diamond seems to stay sharp longer (because of the shape and hardness?), cuts a bit faster, though is more expensive. The .25 micron is pretty close to the .5 micron CrO2 I usually use, and though it does cut quicker and lasts longer, it seems an unnecessary expense. Waxy pastes don’t apply or stick well to polyester leather.
In terms of initial cutting performance and cutting edge longevity, I can’t really tell much, if any, difference between blades stropped with the .1 micron or .025 micron. Even so, the idea of a one fortieth of a micron edge does have an almost irrational appeal, but is it just a placebo effect? Also theoretically, the smaller the grit progression in your sharpening sequence, the finer the cutting edge, and the faster you get there. But everyone has to decide for themselves if the trade off in time spent sharpening is worth the final result.
Diamond compounds are expensive, but once they are loaded onto the polyester leather they last for a long time. In my experiments, I’ve used a single polyester leather strop loaded with .1 micron for over 100 knives without recharging, and it isn’t dead yet.
I’m a convert to this new sequence. It really doesn’t take much additional time, and the resulting edge is better. All the knives I make now follow a 80, 40, 15, 5, 1, .3 micron sharpening sequence, and a .1 micron stropping. When I am paring leather for my own projects, I do a two stage stropping sequence to keep the knife sharp. First, a .5 micron CrO2 on horse butt followed by .1 micron PCD on polyester leather. Once the edge becomes too obtuse, then it is time to resharpen.
Choose your poison and treat yourself to a sharpest knife you’ve ever experienced for this Christmas!

SUPERSTROP
The Superstrop has a half inch thick cast acrylic core, which is the flattest plastic available, as well as being very dimensionally stable. Flesh side horse butt is mounted on one side and flesh side polyester ultra-microfiber leather on the other. The strop has a nice heft, about 14 ounces, so it doesn’t move around on the bench while stropping. The polyester leather comes loaded with .1 micron Poly Crystalline Diamond (PCD) compound, which should last a very long time. Sub-micron diamond replacement sprays are readily available. Replacement PSA horse butt and PSA Polyester leather is also available. When working, I like to use the .5 micron Chromium Oxide (CrO2) honing compound on the horse butt, wipe off the knife to prevent grit contamination, then finish with the .1 micron PCD. Also available with polyester leather on both sides, loaded with .1 and .025 micron PCD.
SuperStrop. 14″ x 2.5″ x ~.625″. $85.00
Replacement ~15″ x 3″ PSA flesh side horsebutt: $35.00
Replacement ~15″ x 3″ PSA flesh side polyester leather: $35.00
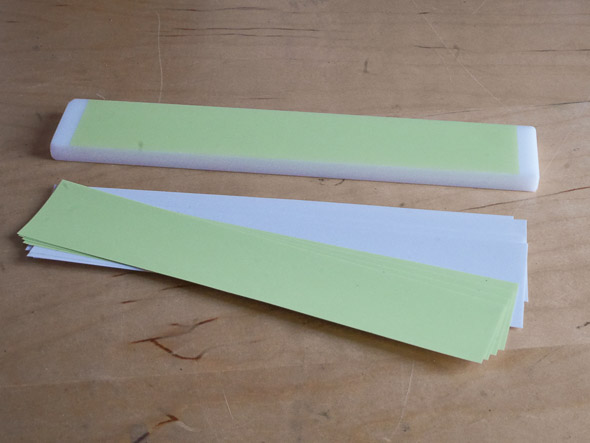
3M PSA FILM, ONE AND .3 MICRON.
3M finishing films.1 micron is lime green and .3 micron is white.
Delrin plate, machined and lapped flat. Fits into my sharpening system. 12 x 2 x .5″: $50.00
1 micron and .3 micron 3M PSA finishing film, 4 sheets each. 12 x 2″: $10.00